


Find out how we are celebrating this exciting milestone.

Explore our expertly refurbished baby products.

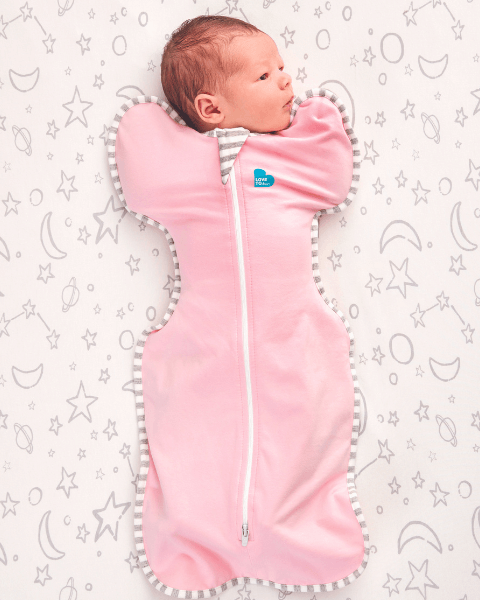
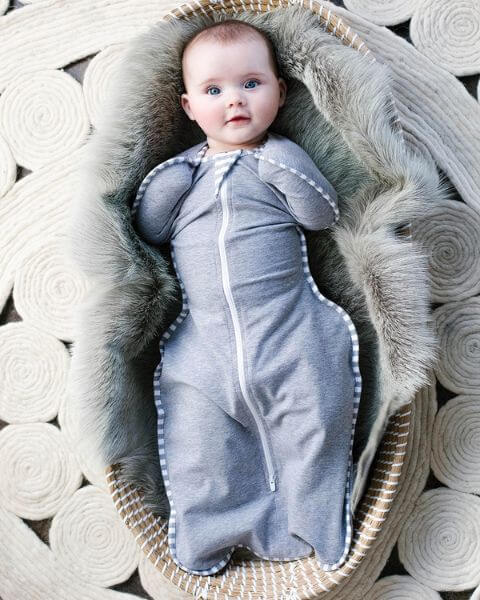
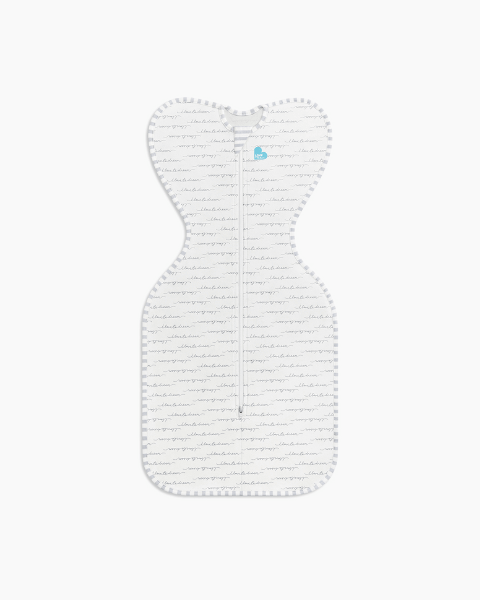
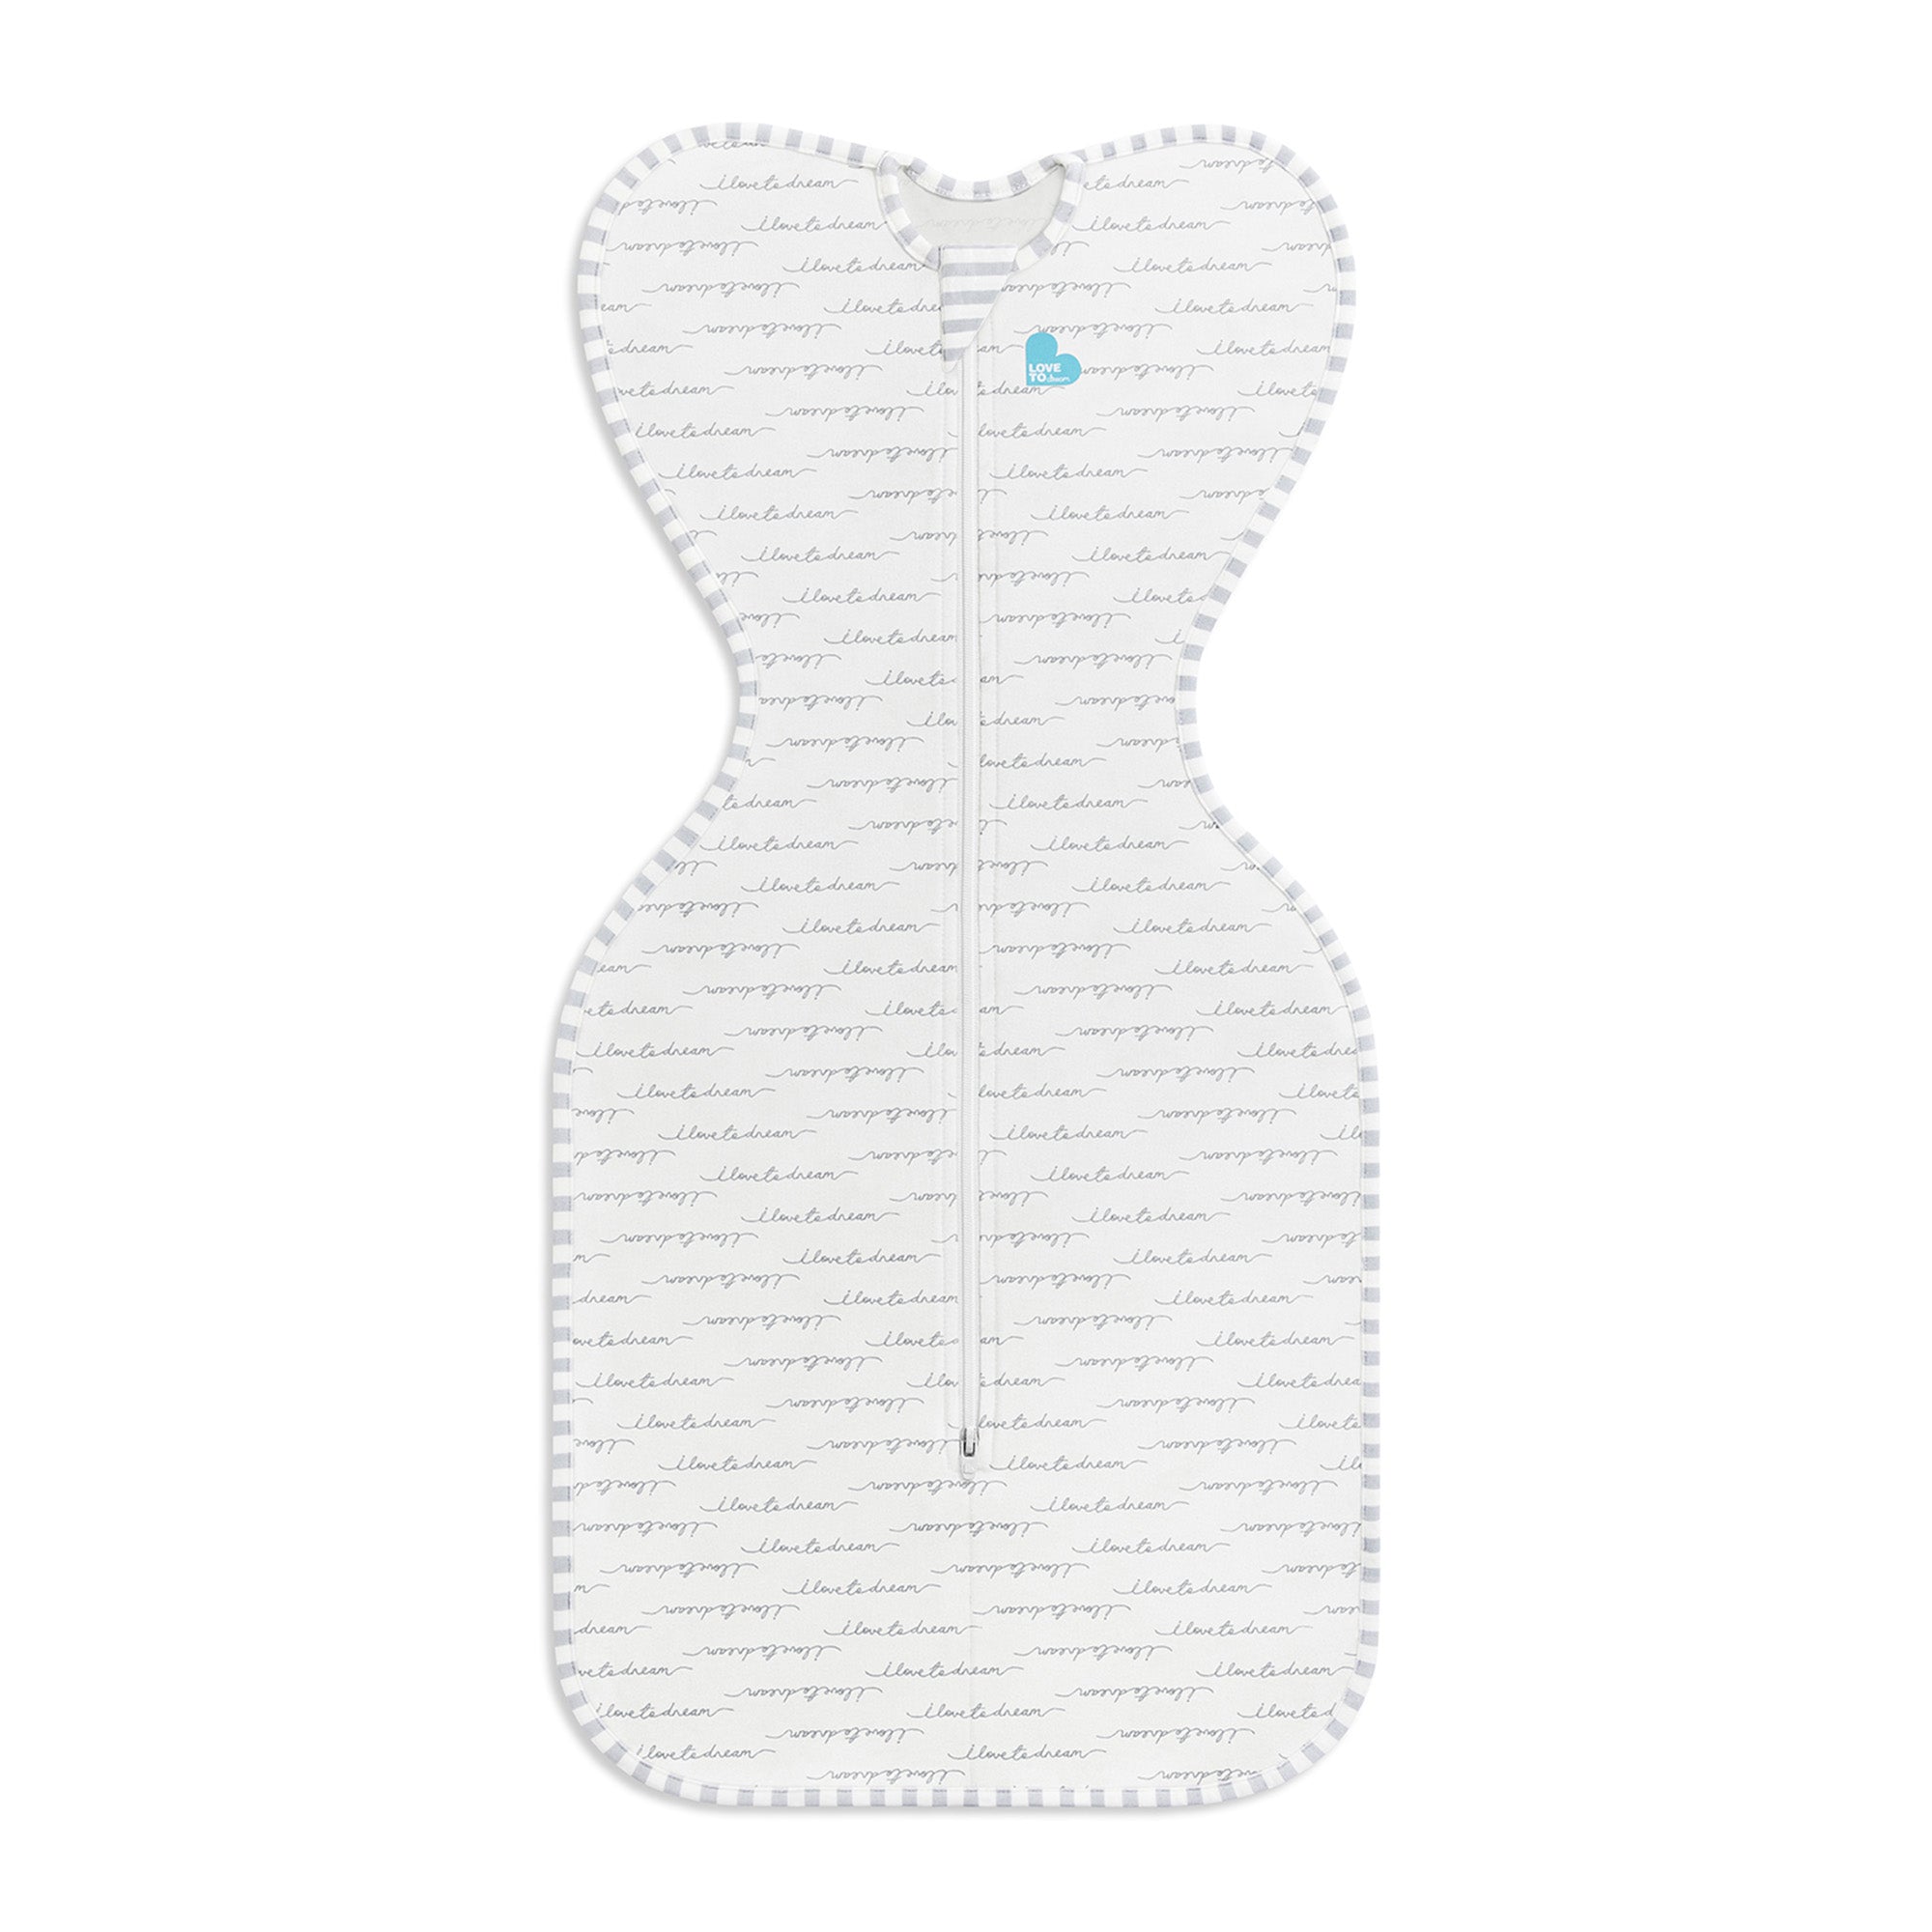
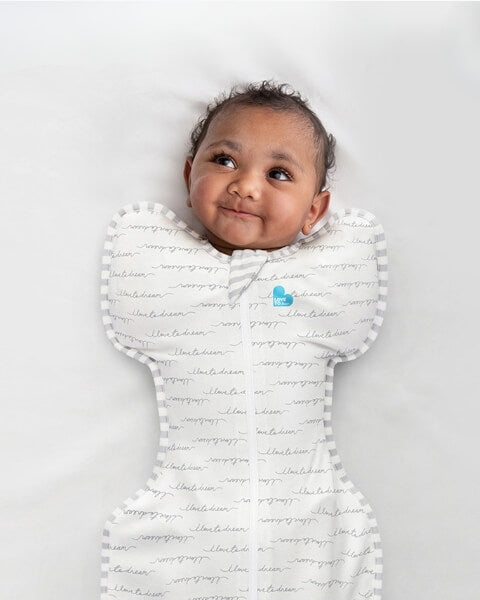
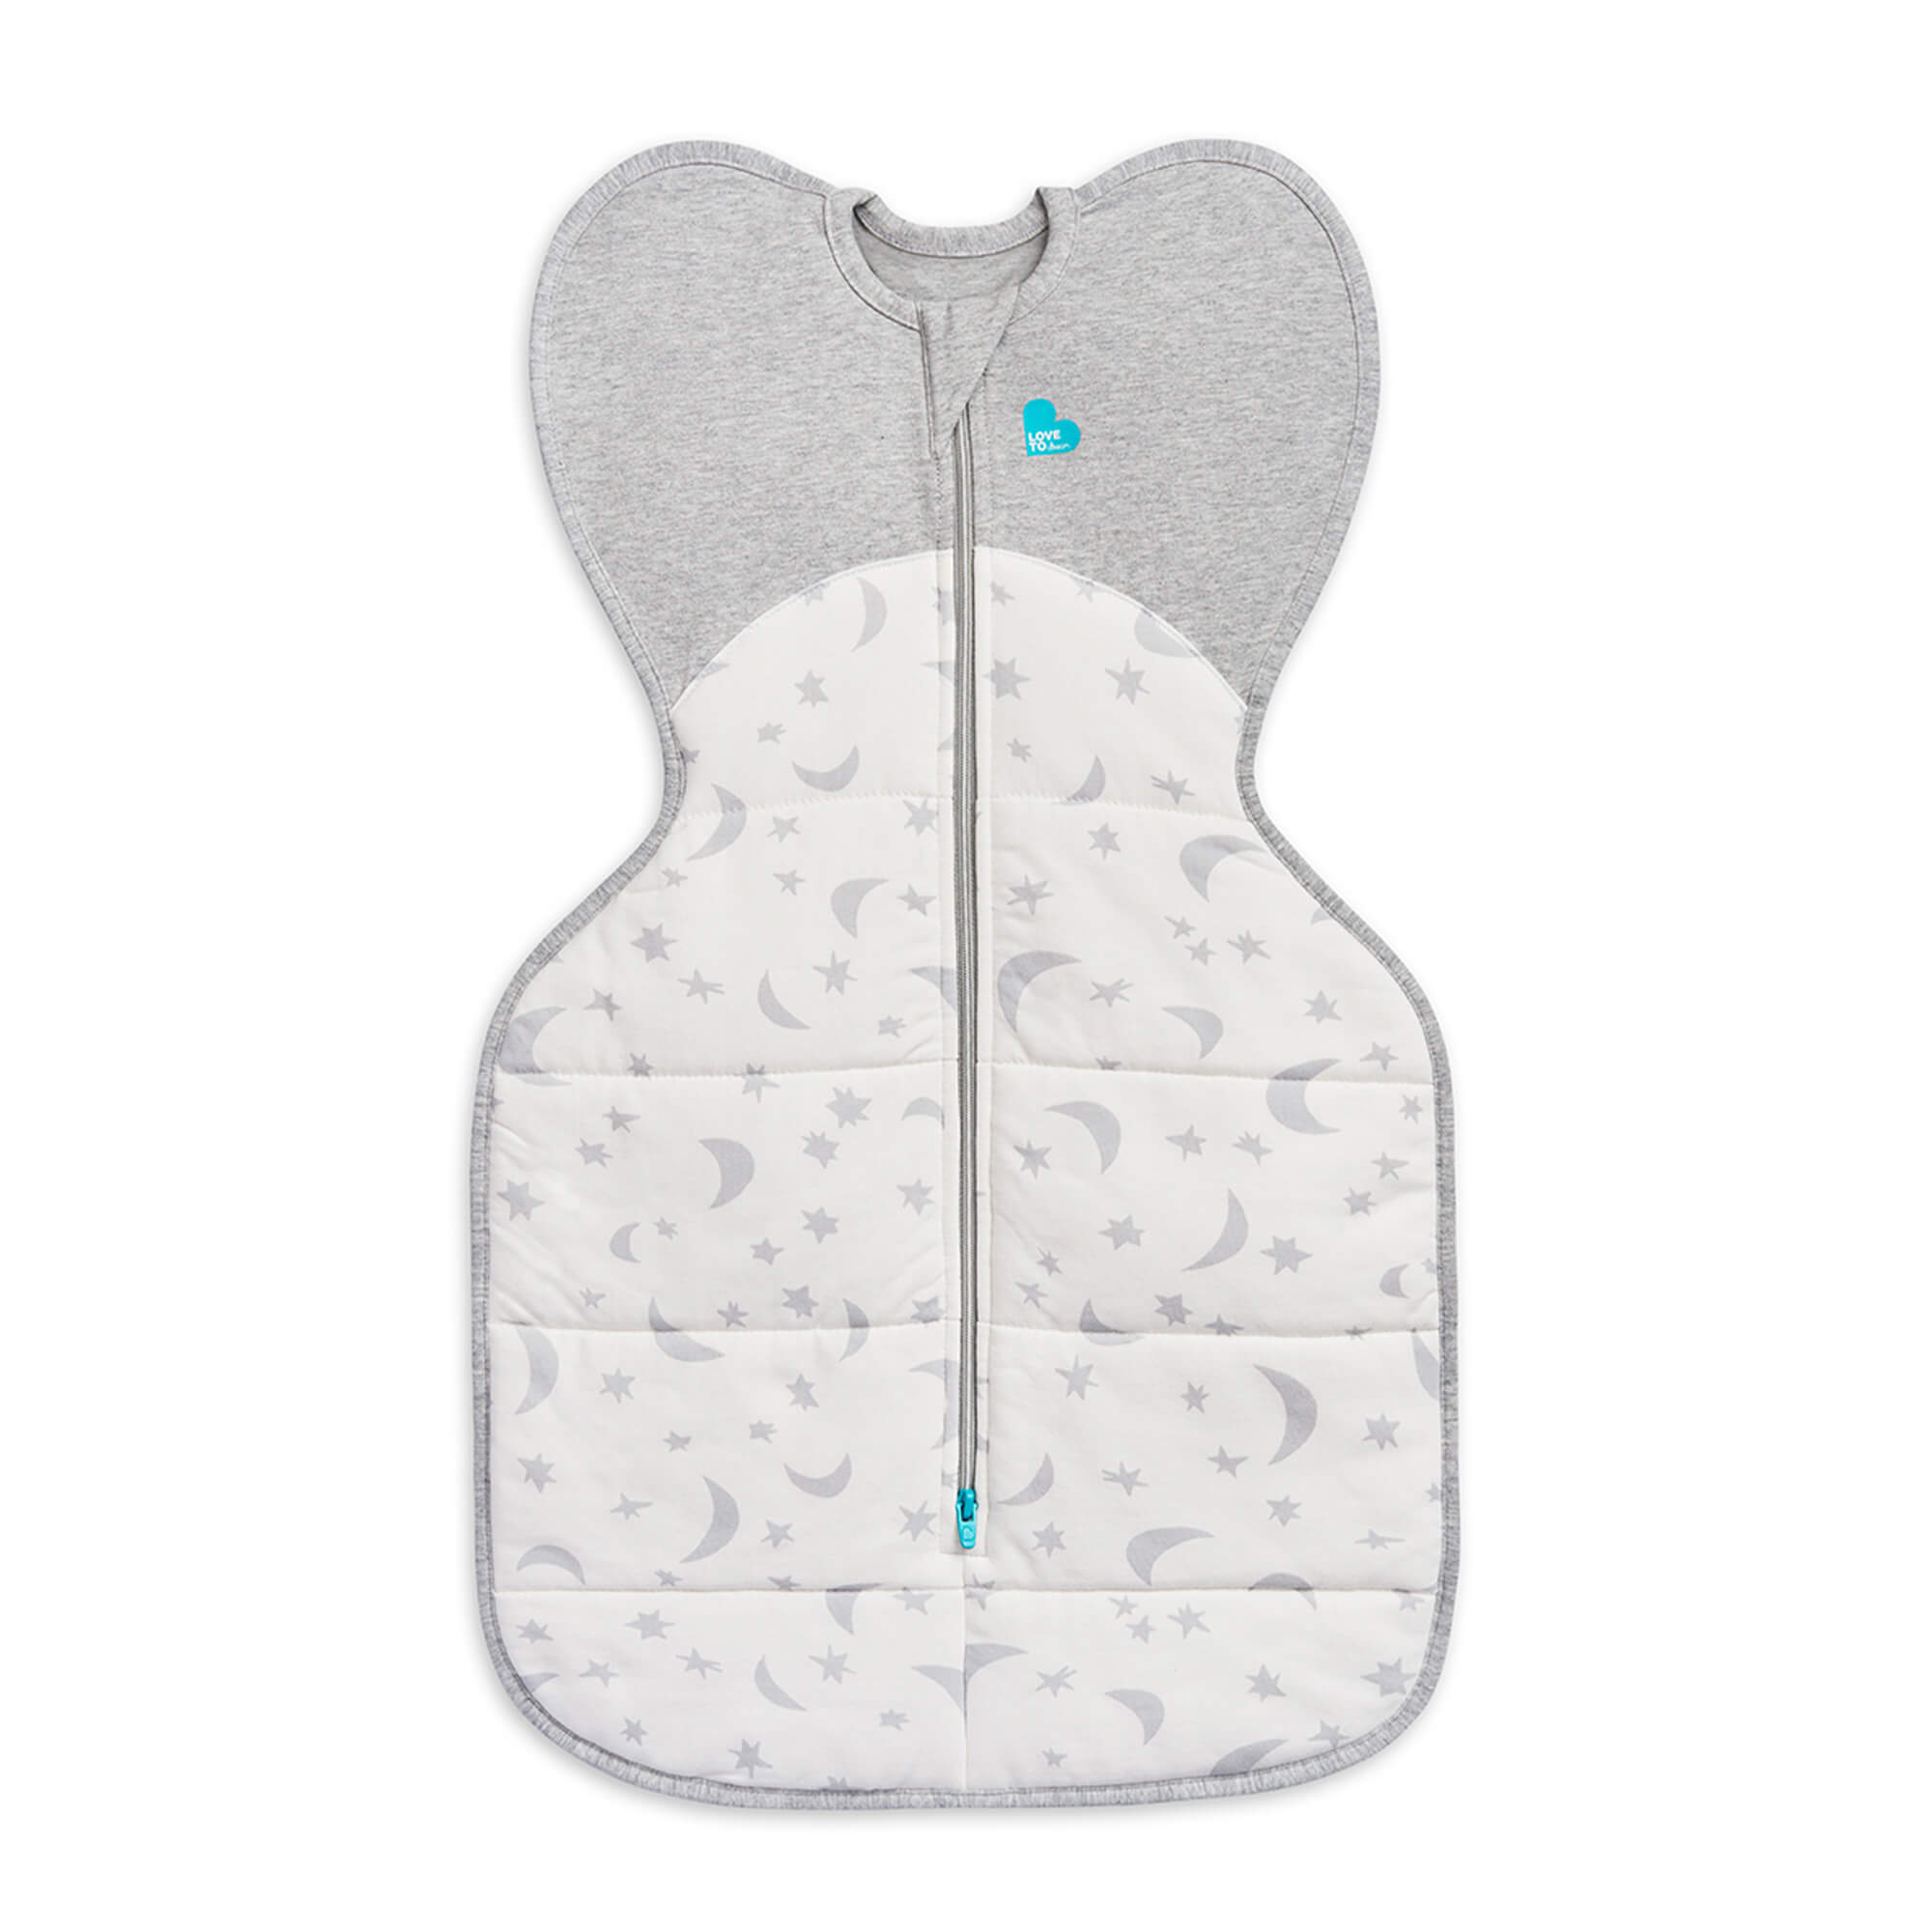
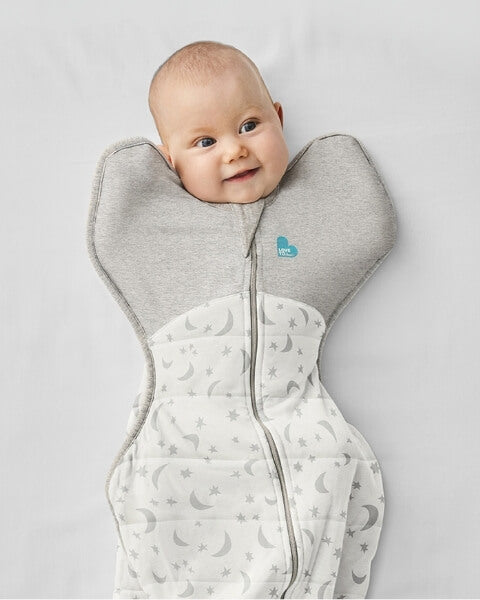
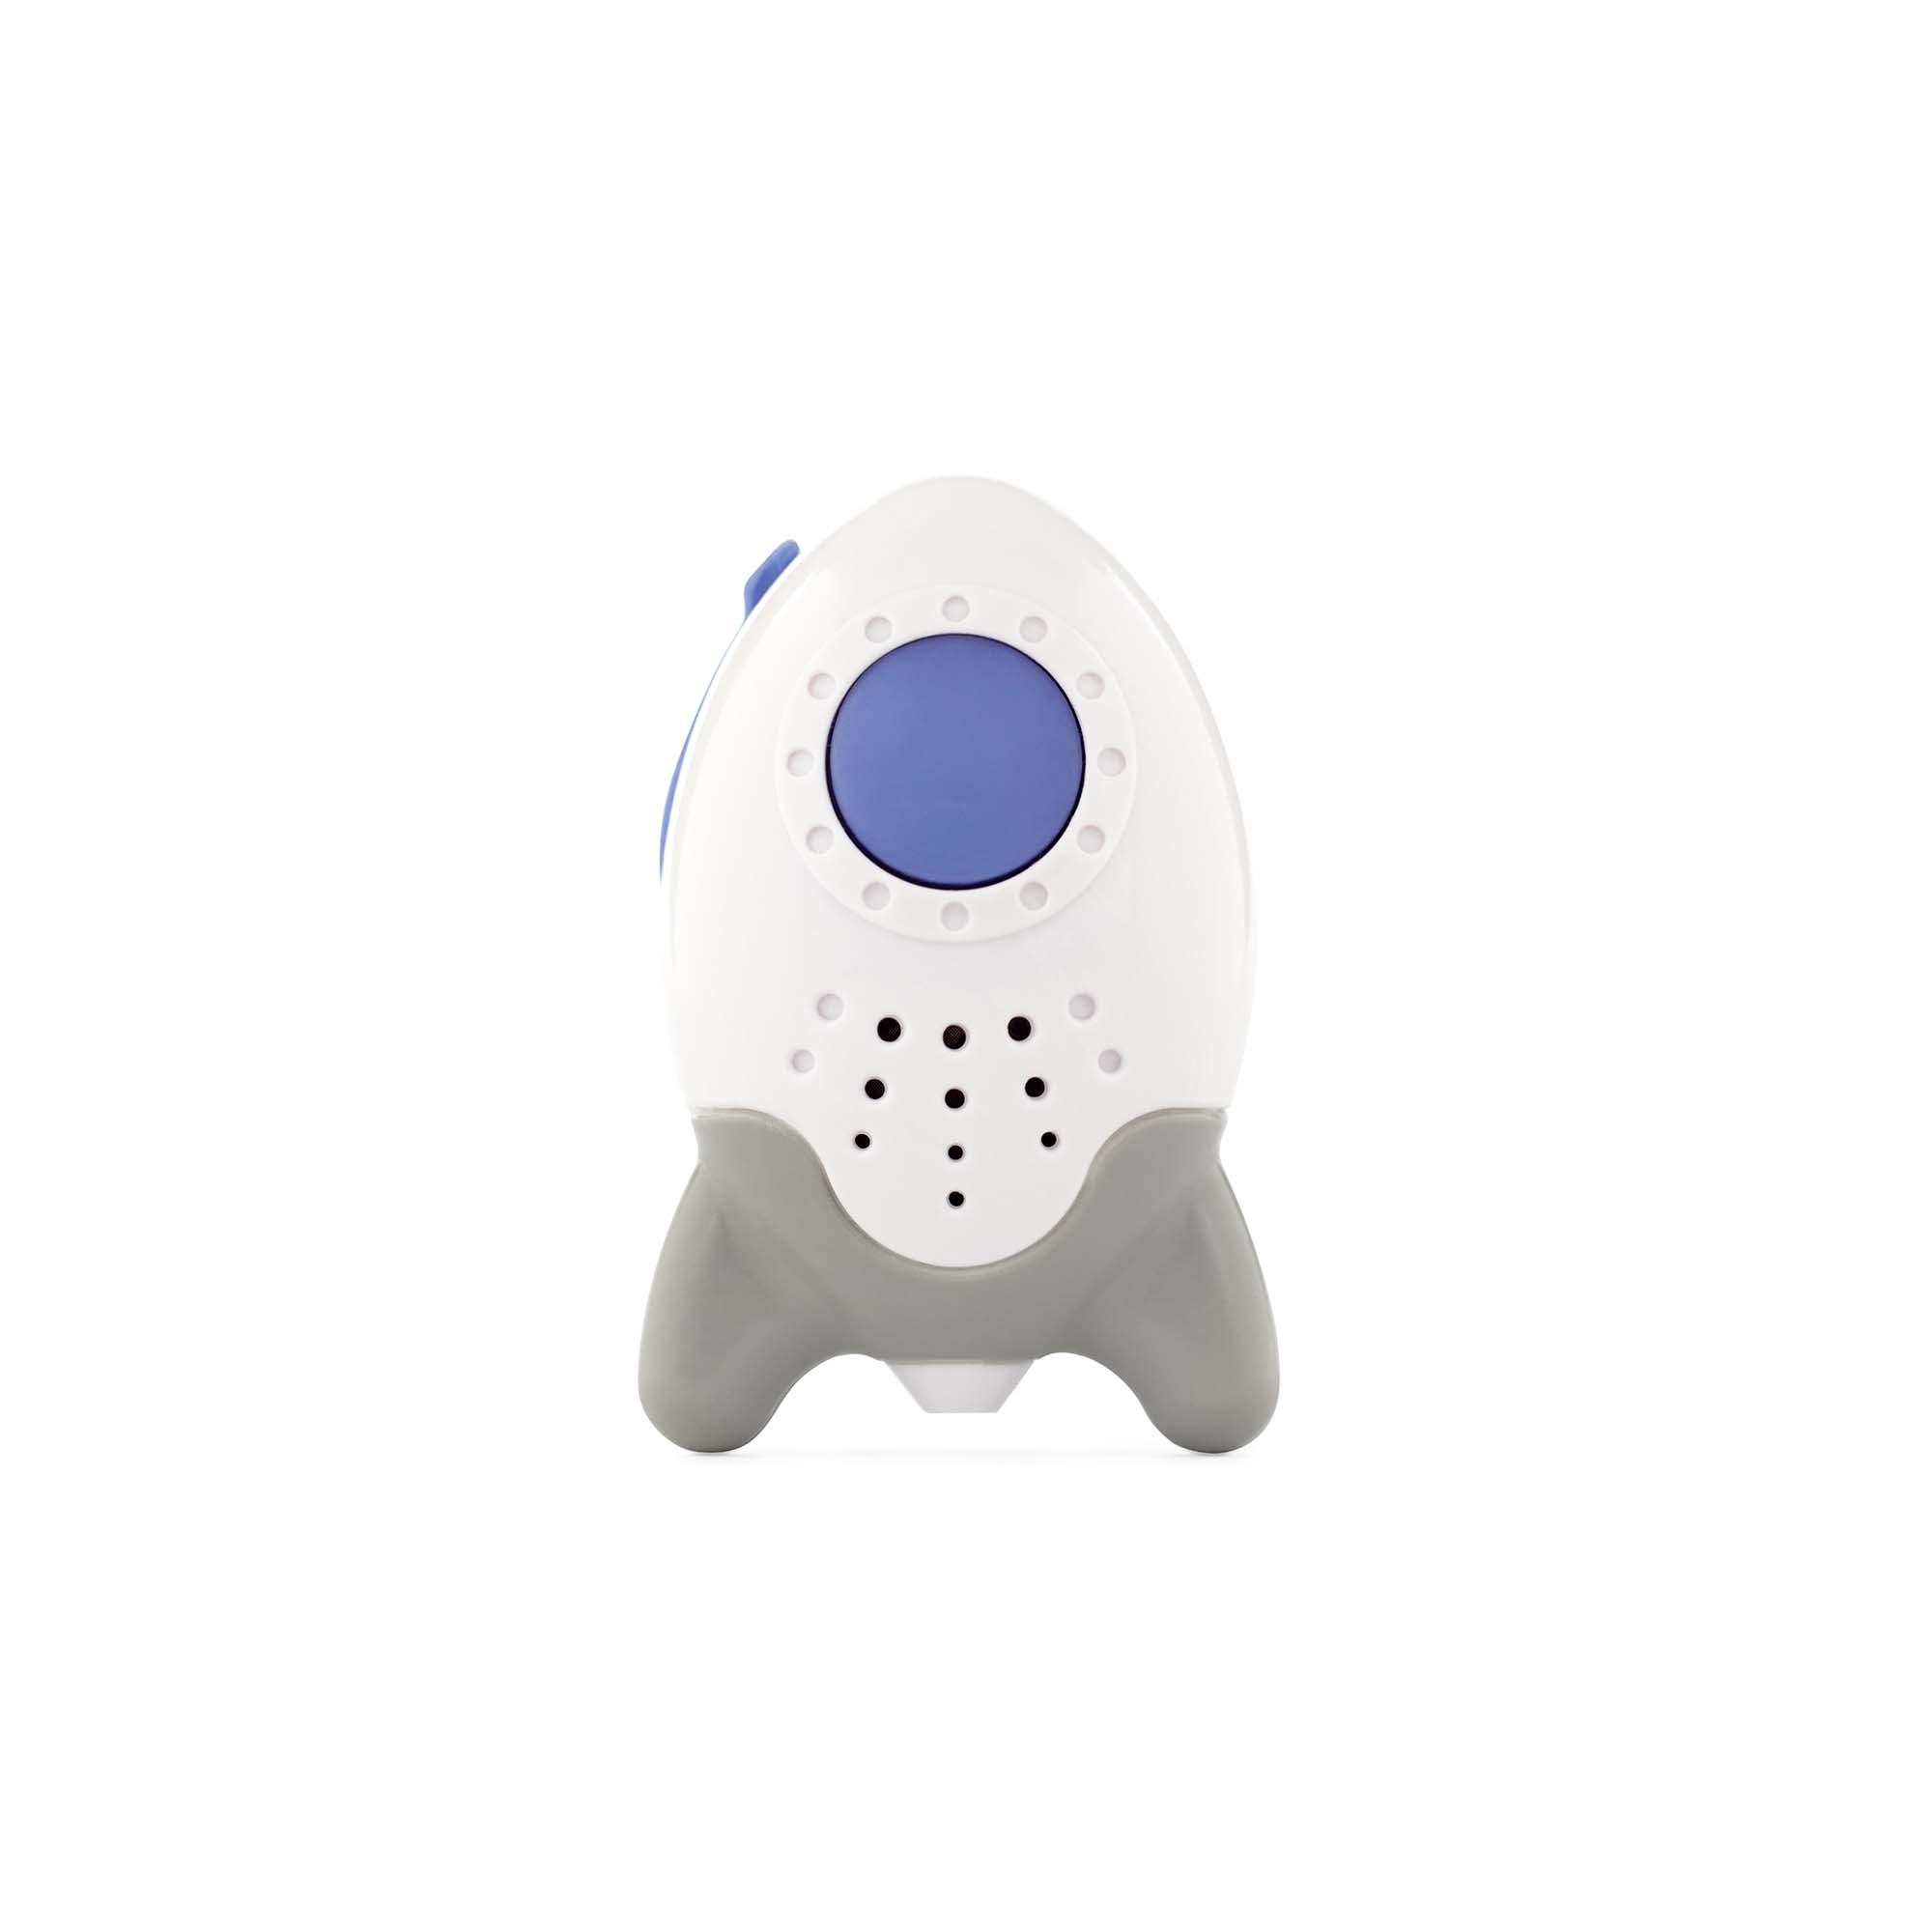
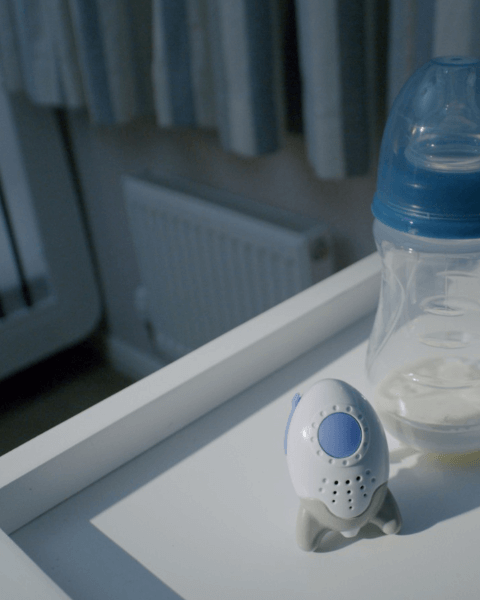
Master your bedtime routine with our sleep essentials
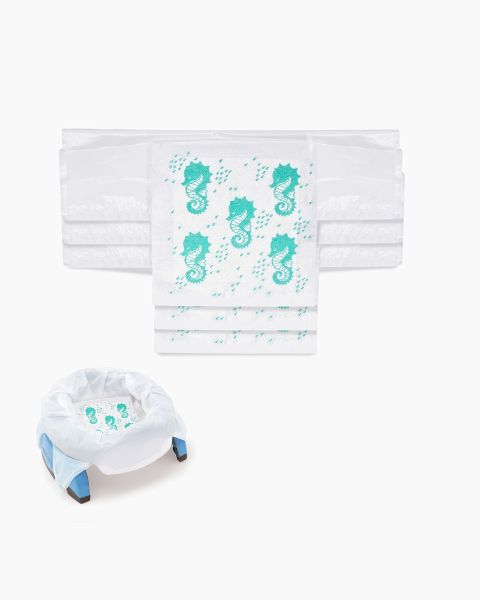
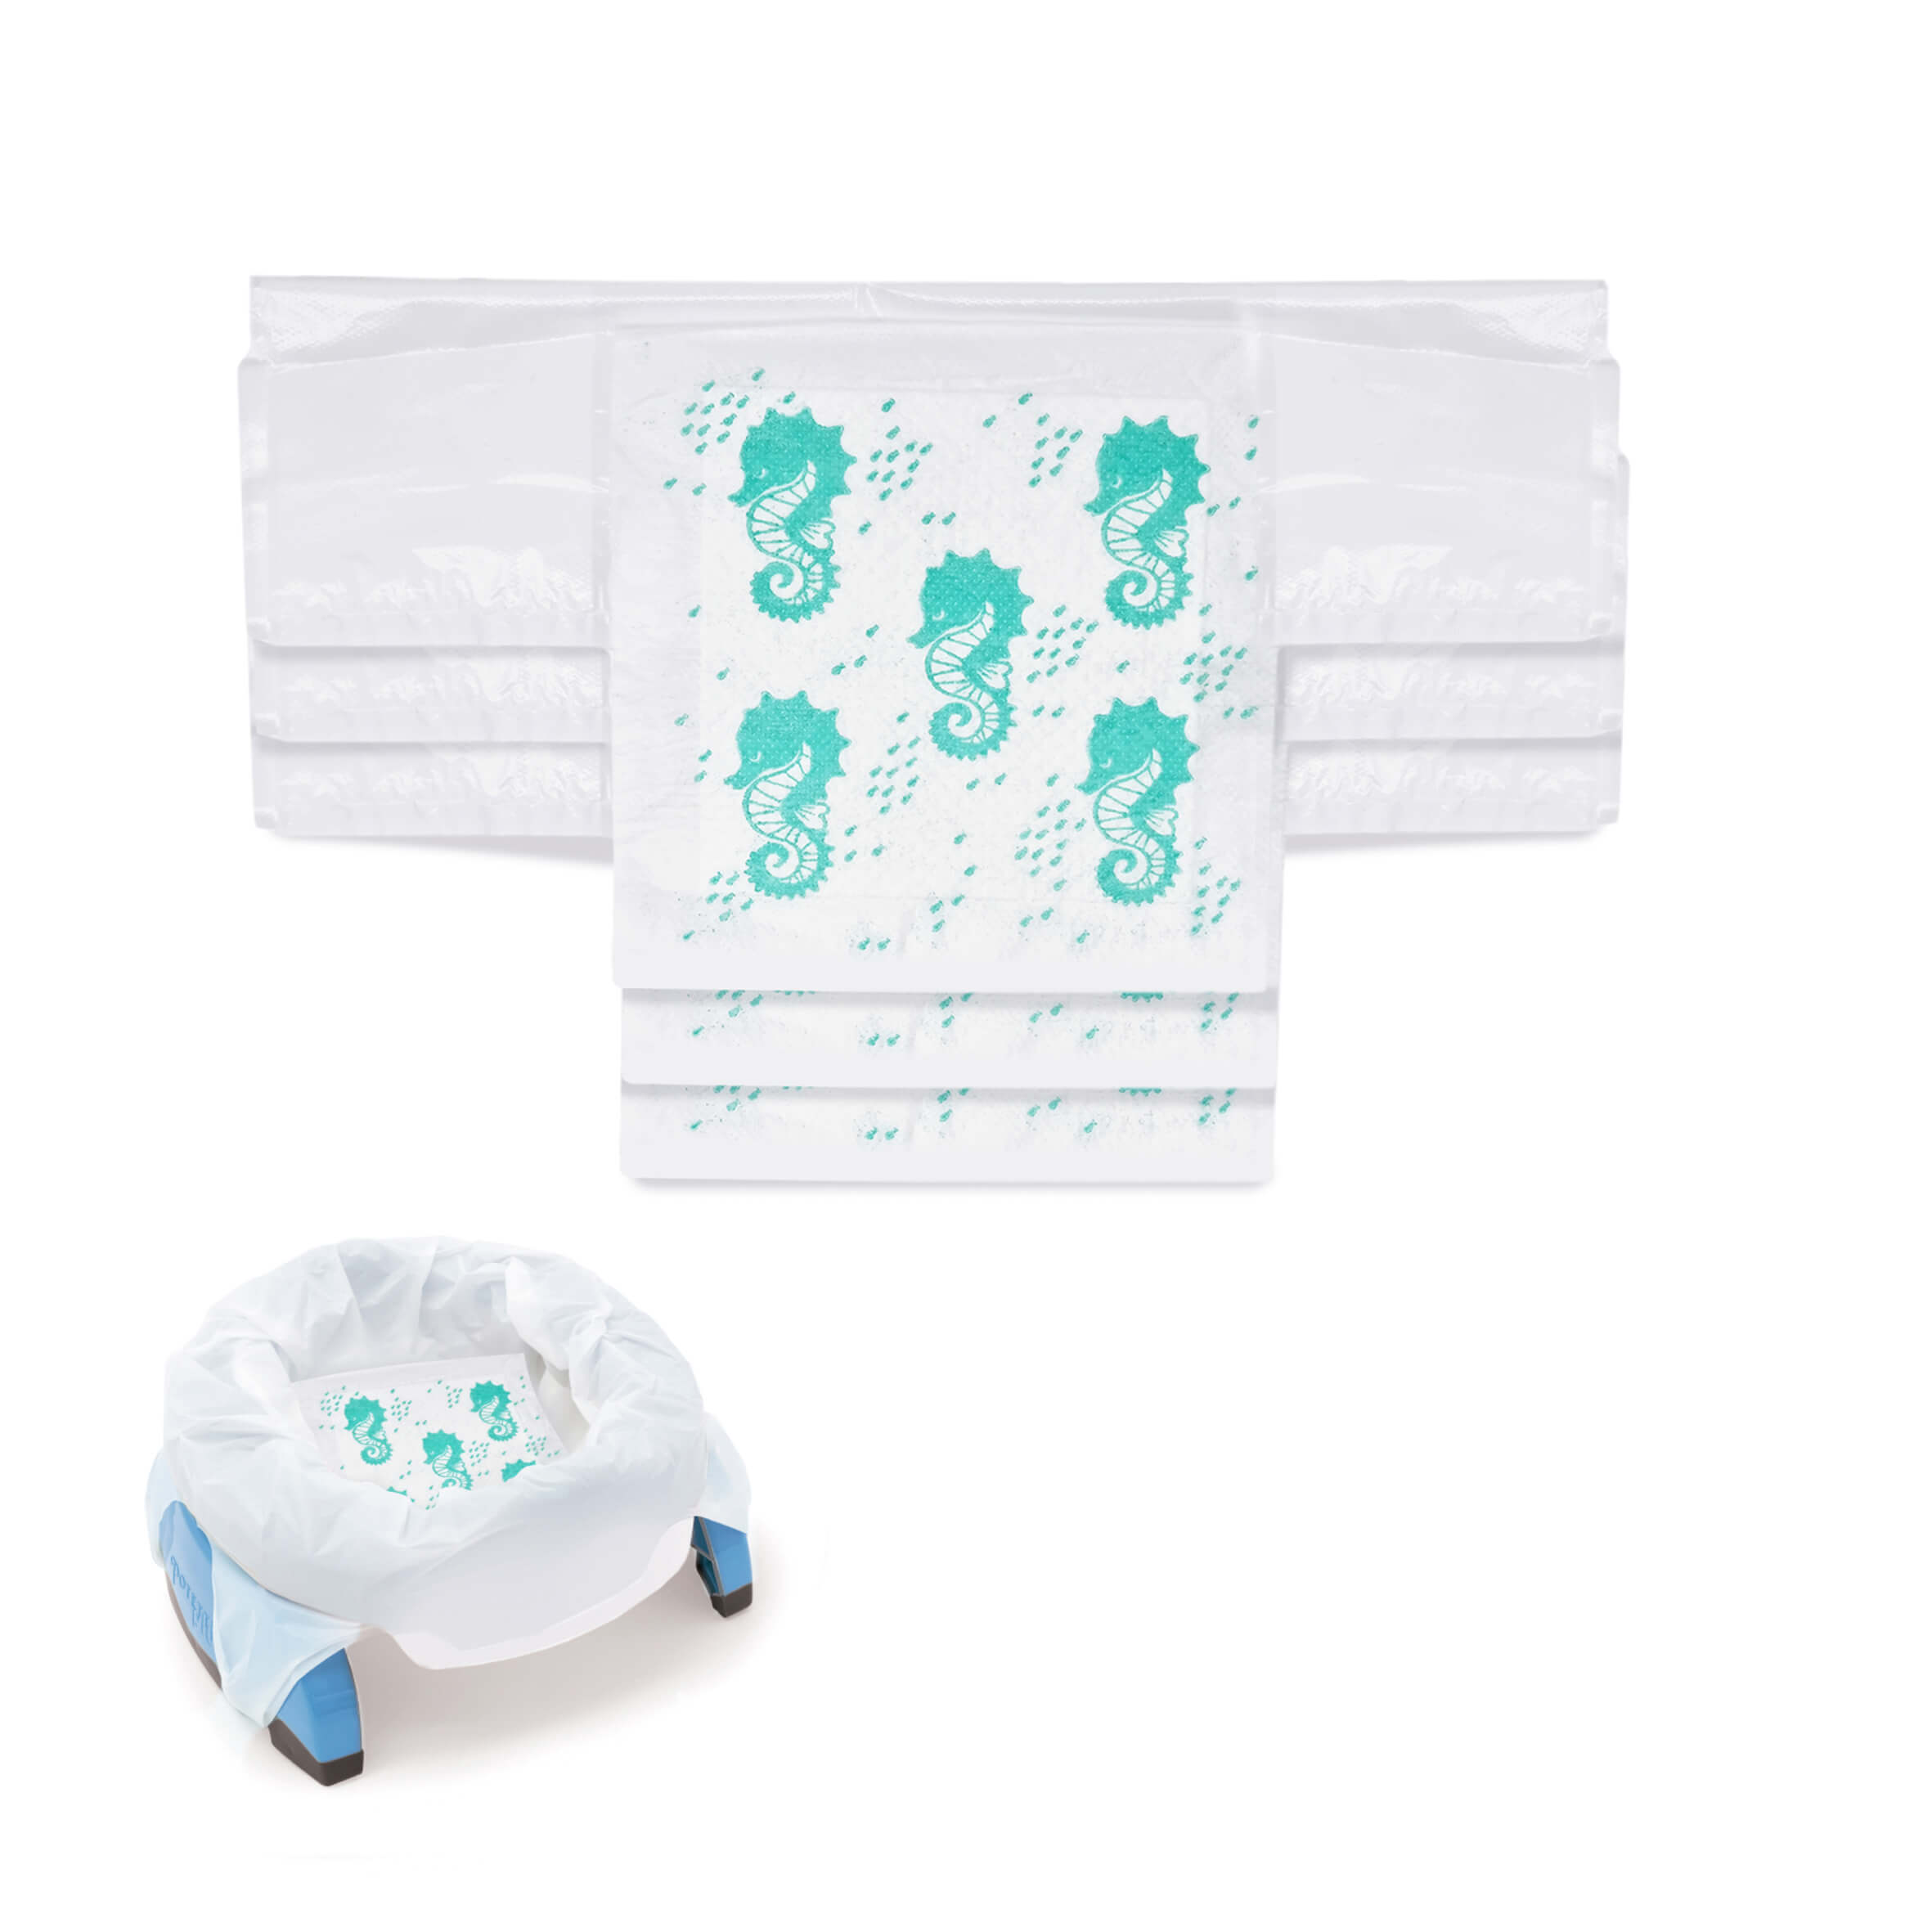
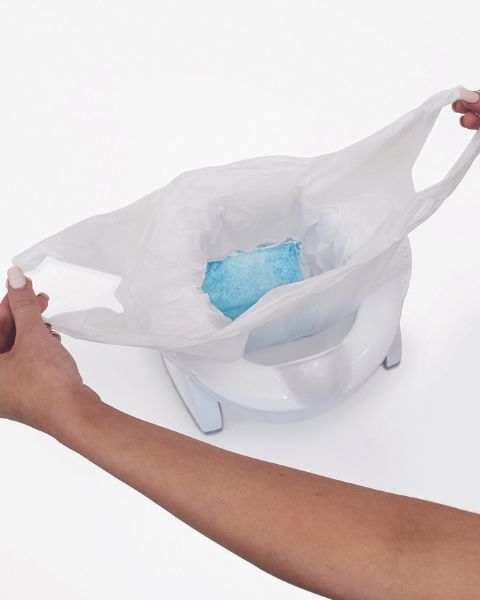
Everything you need for your potty-training journey with Potette
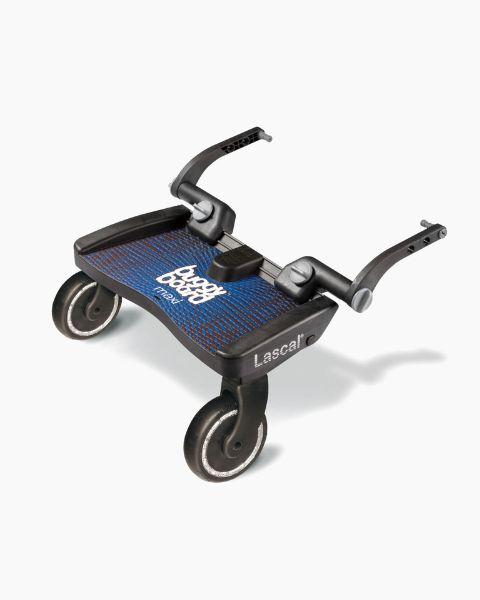
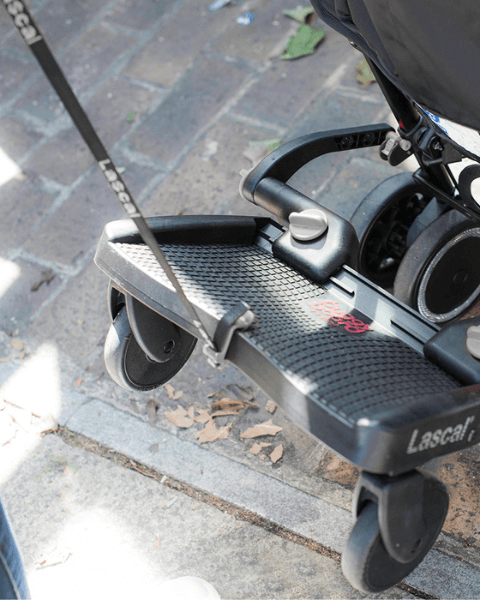
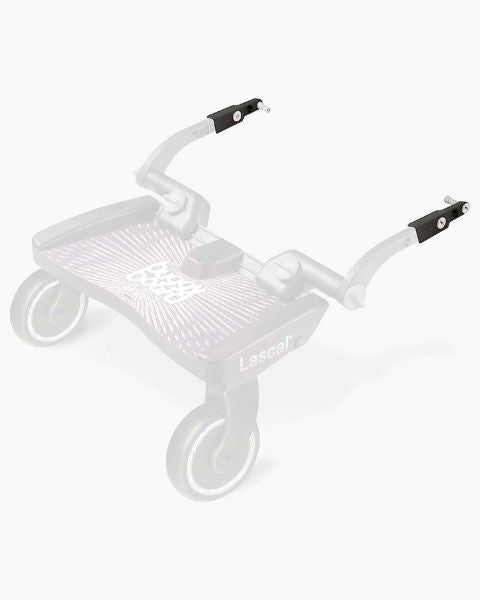
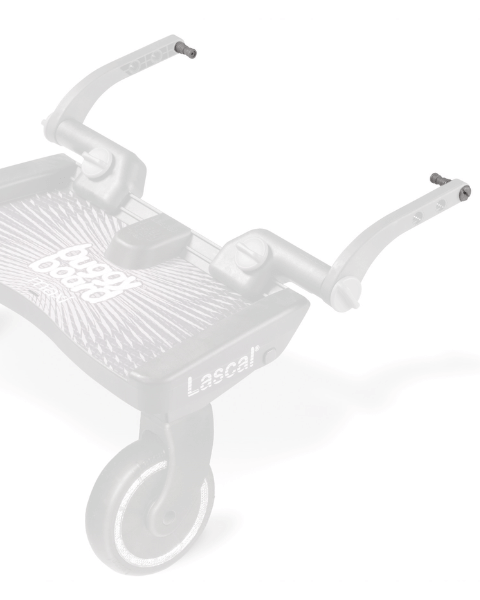
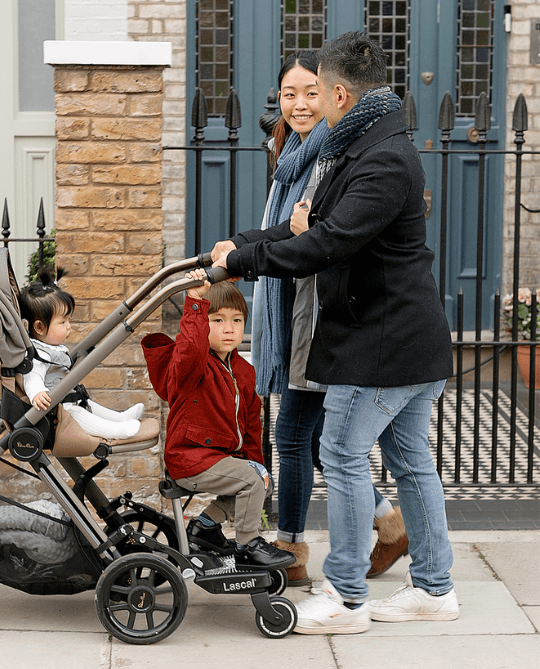
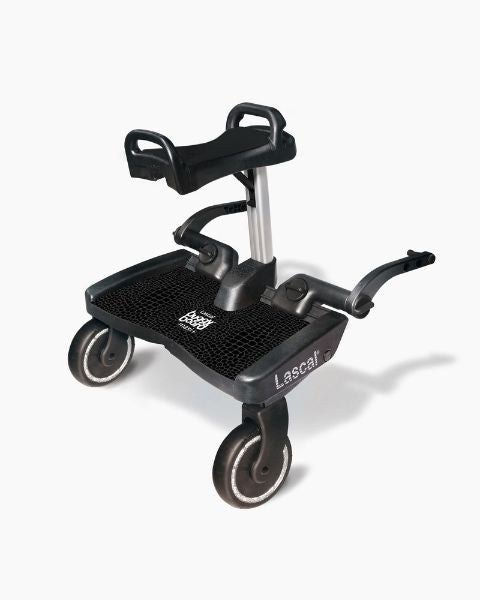
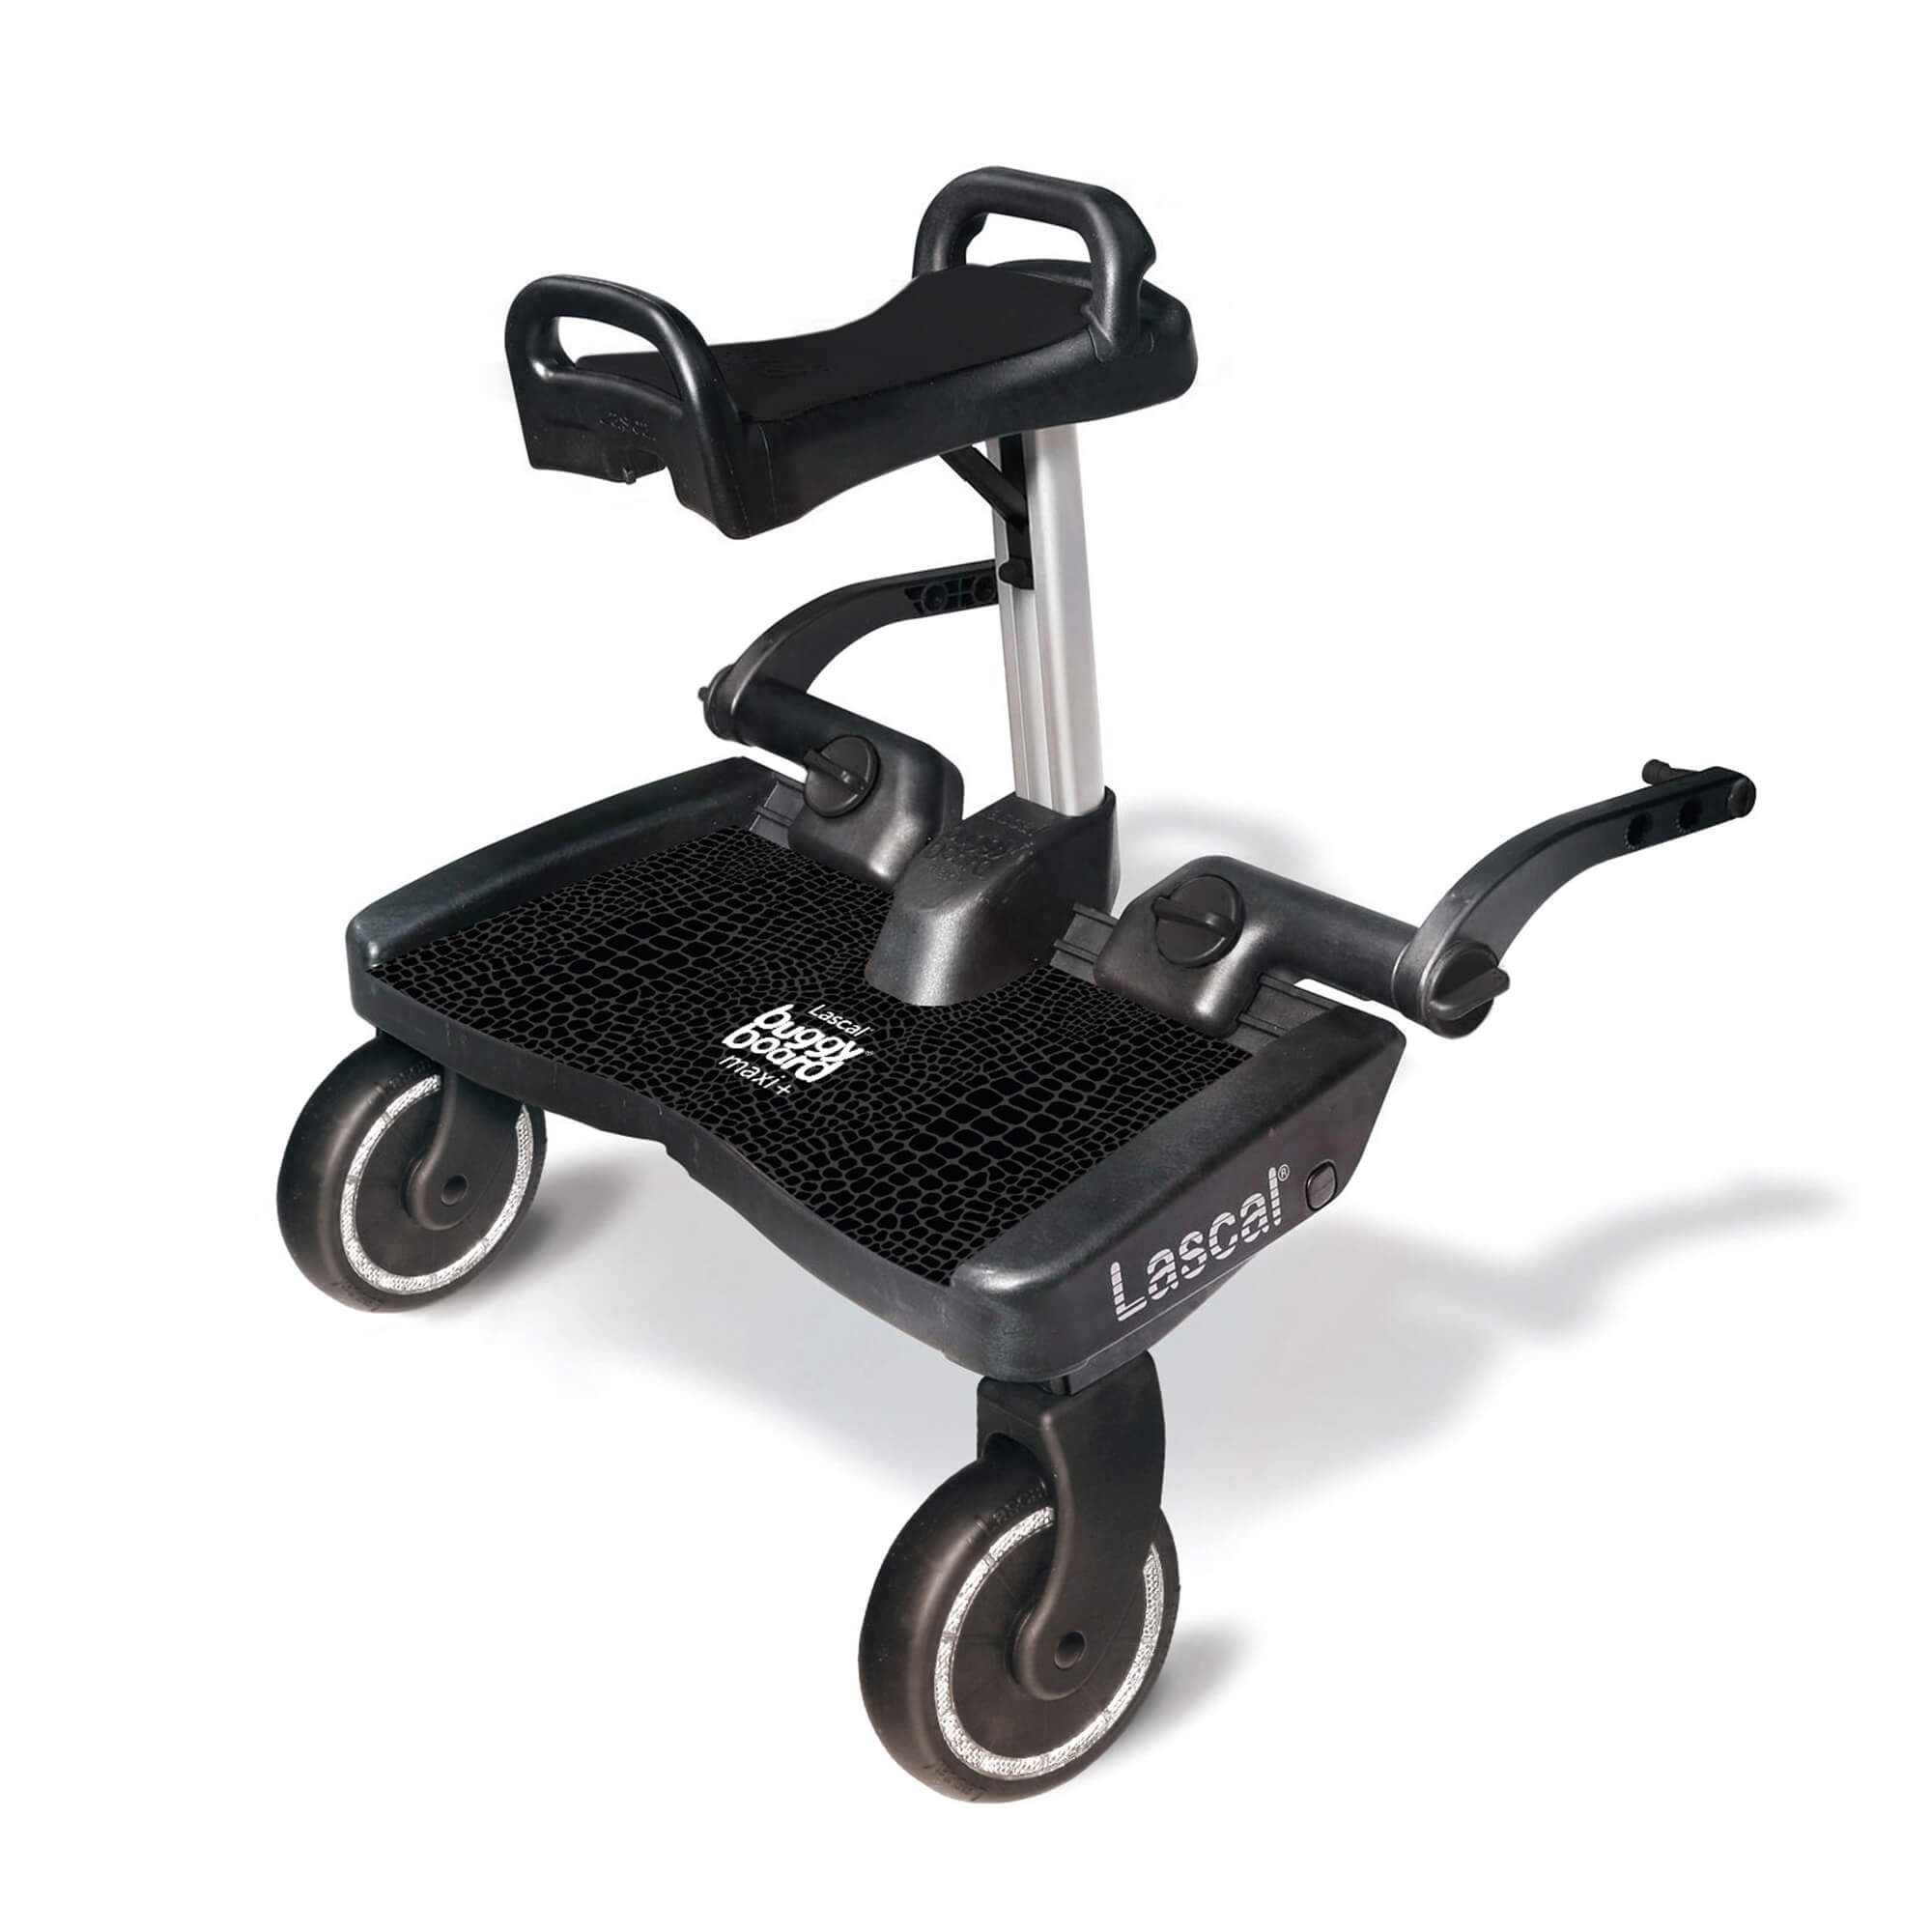
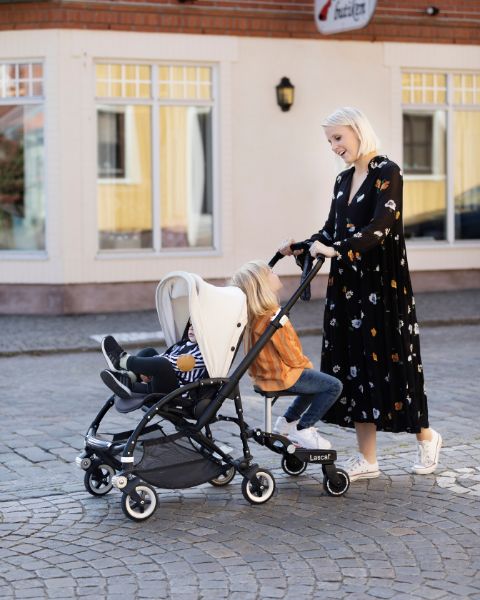
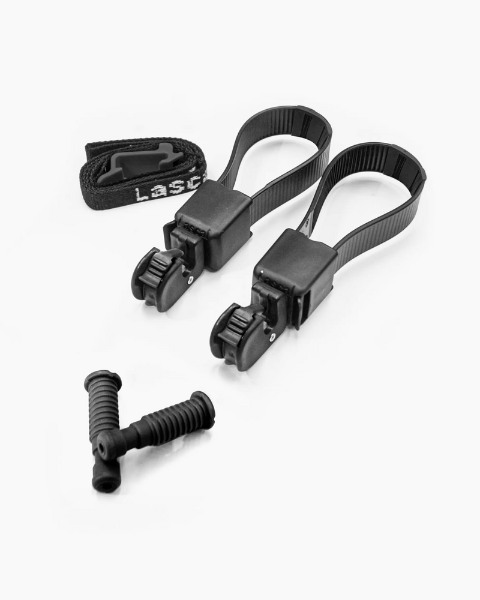
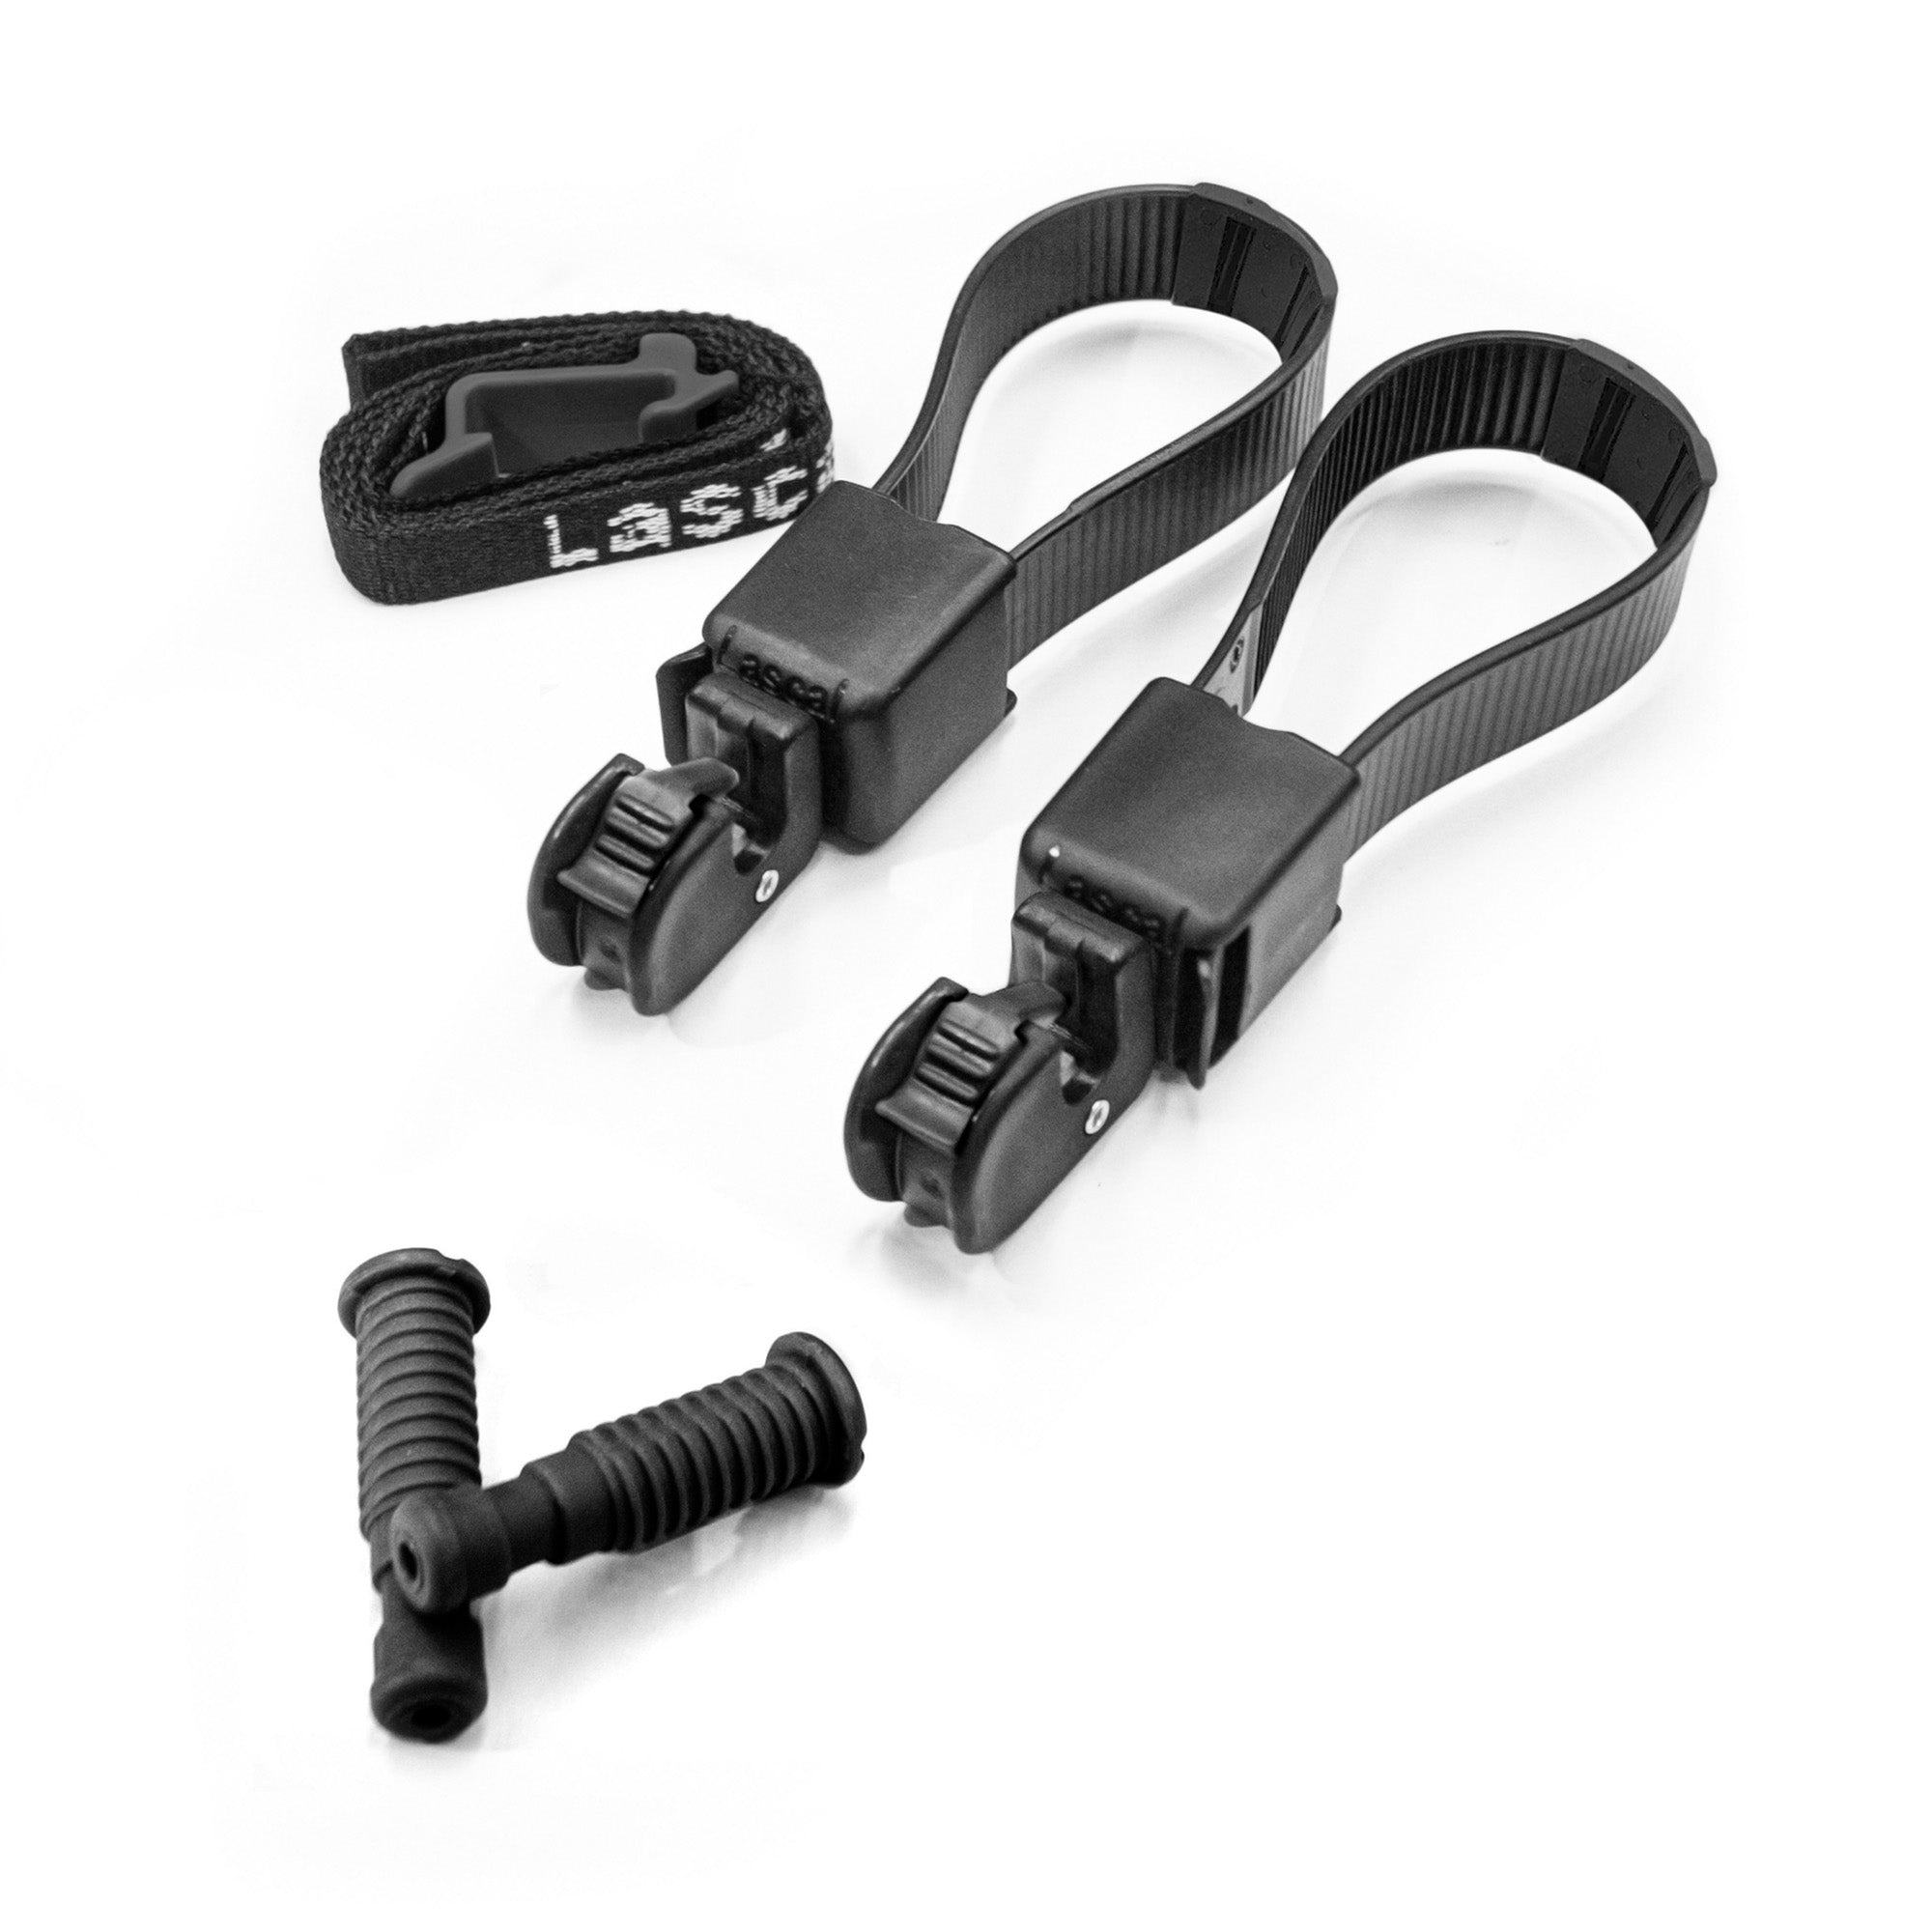
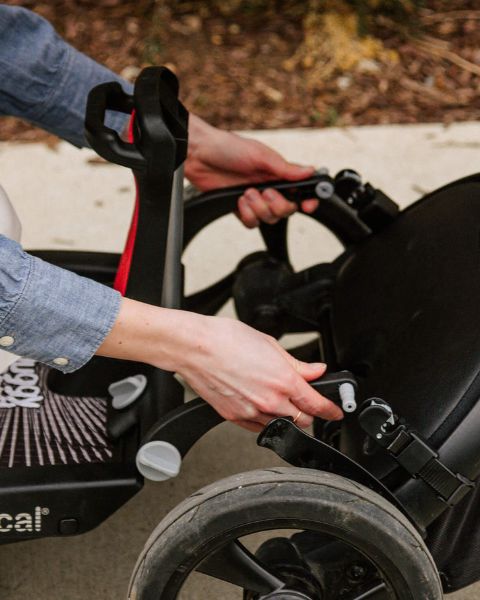
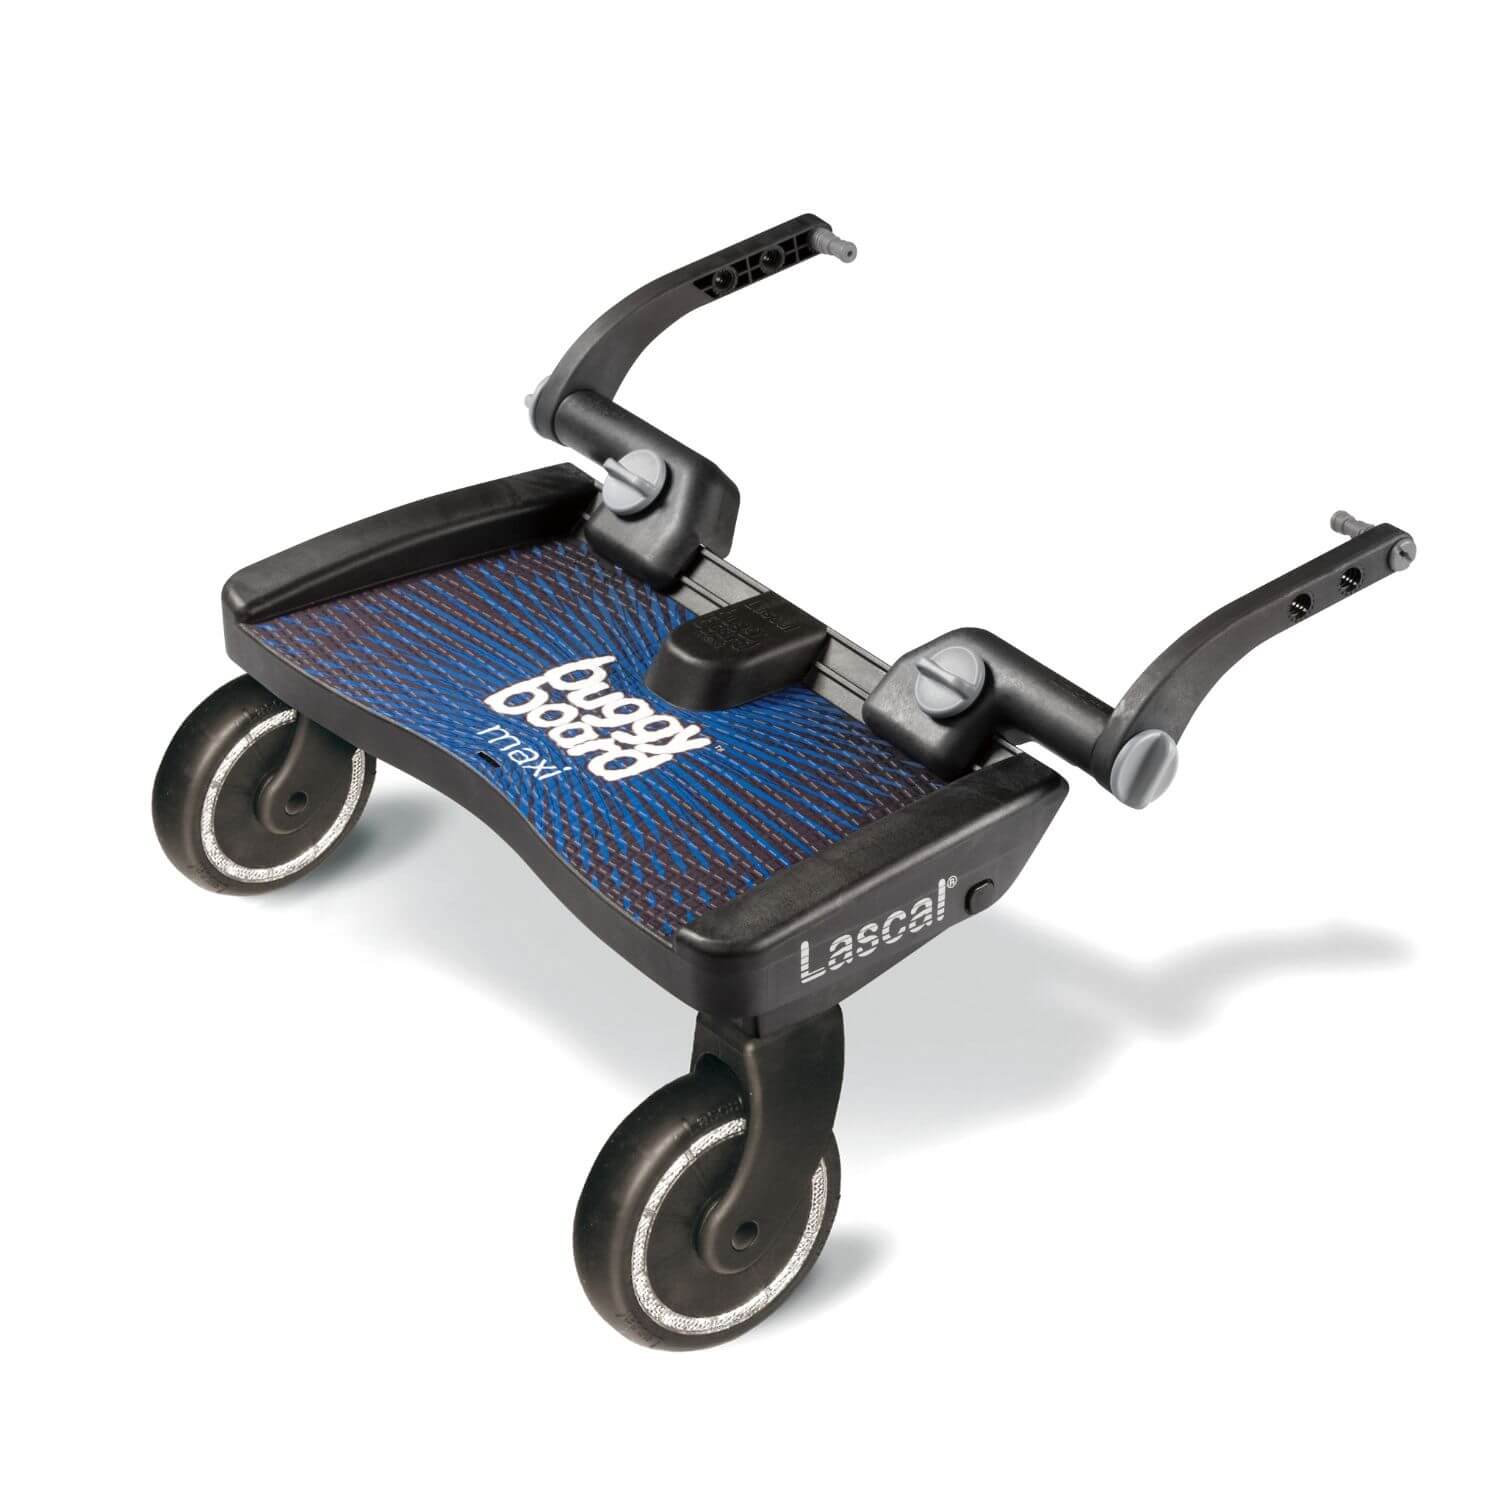
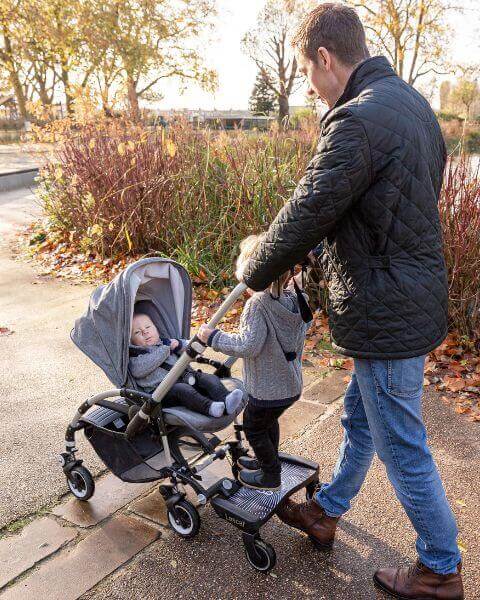
Lascal BuggyBoard® Maxi - Blue


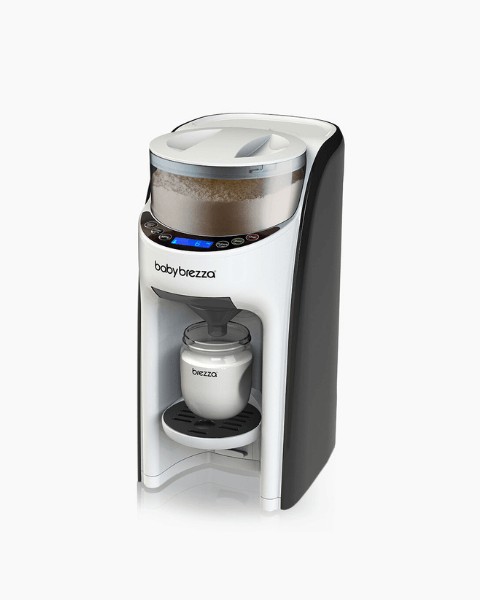
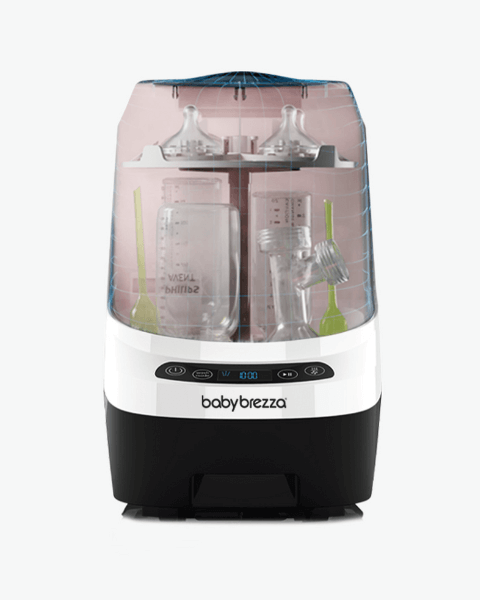
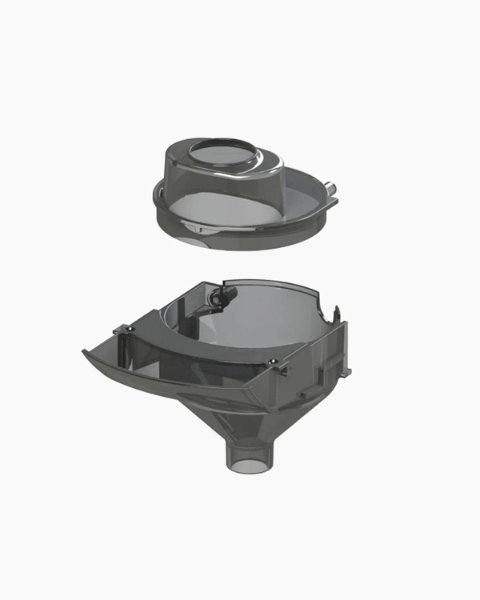
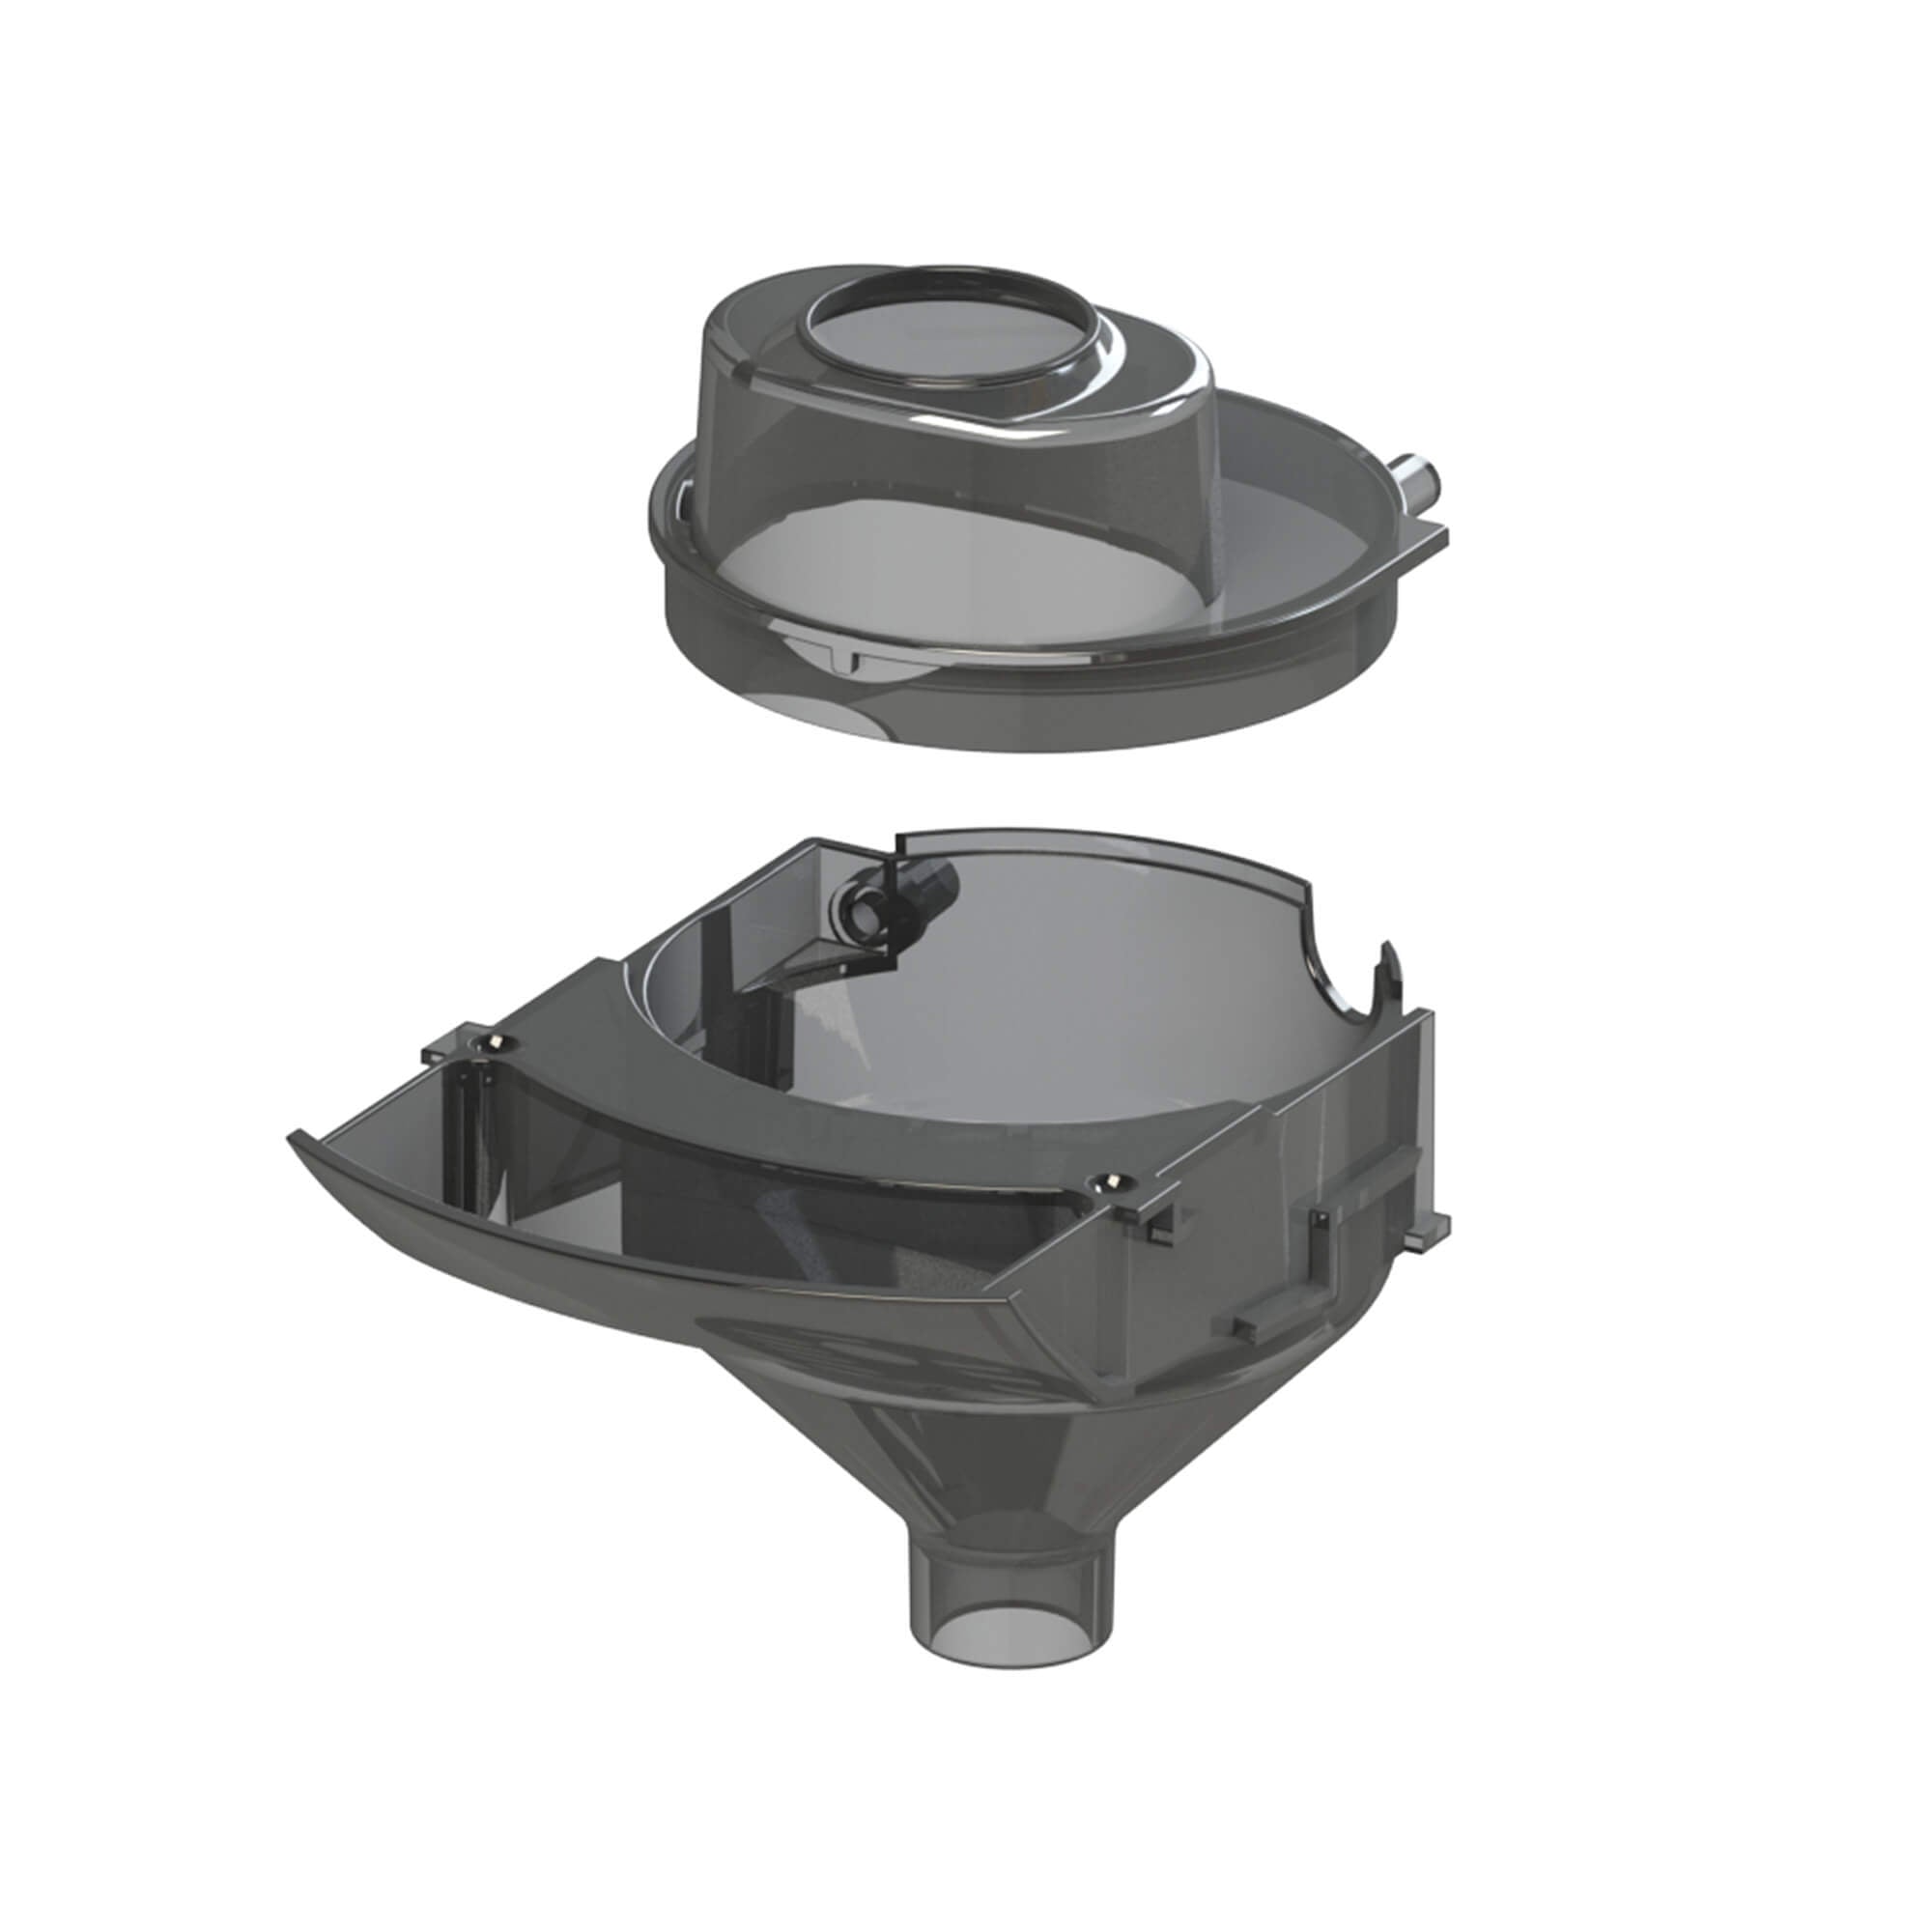
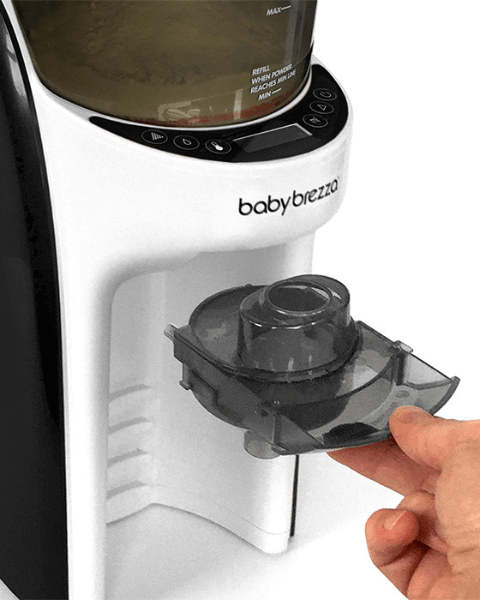
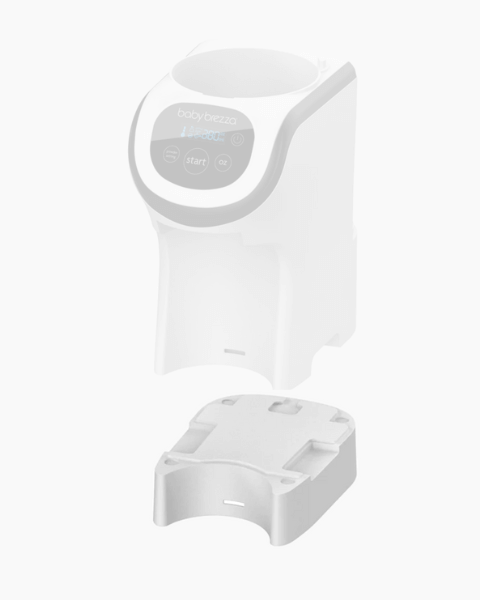
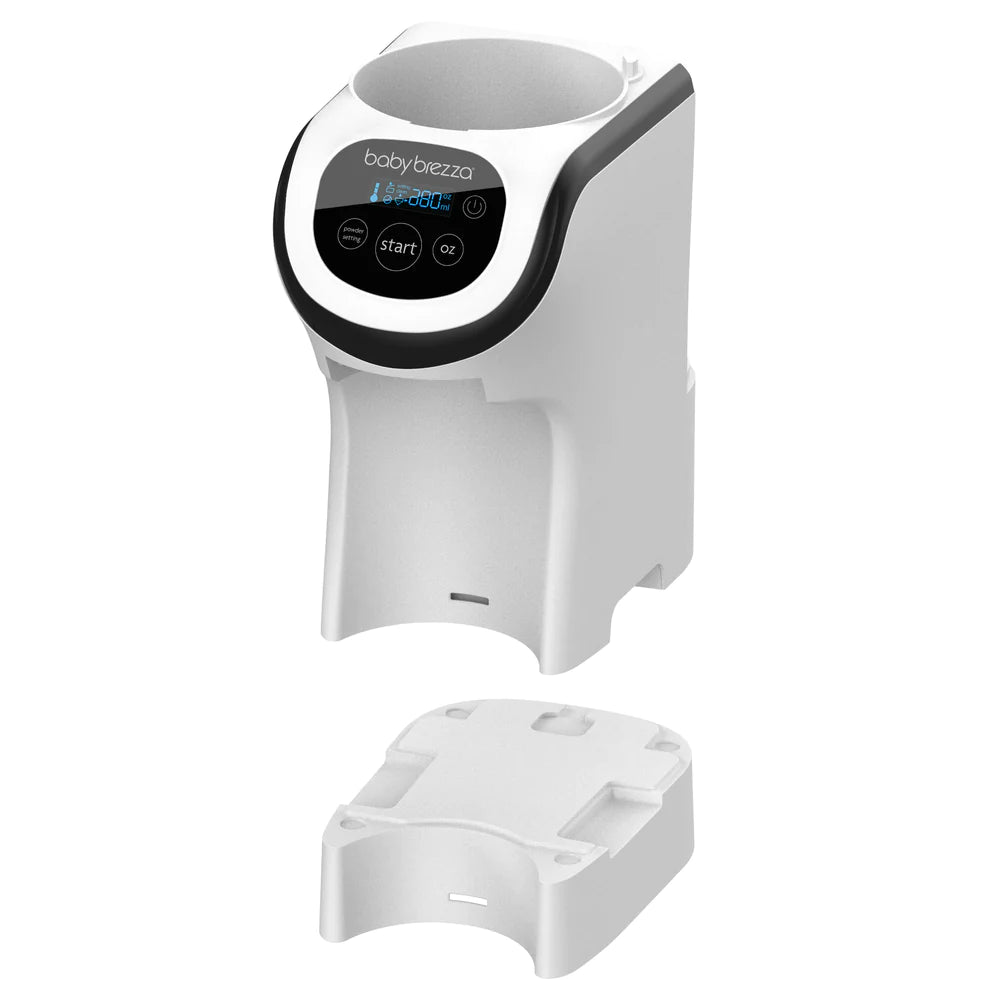
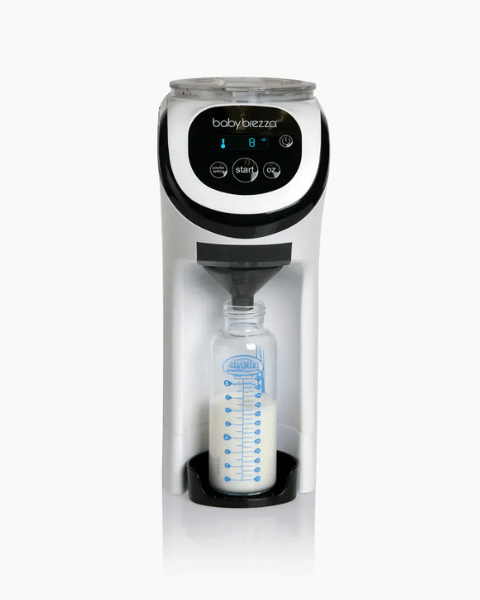
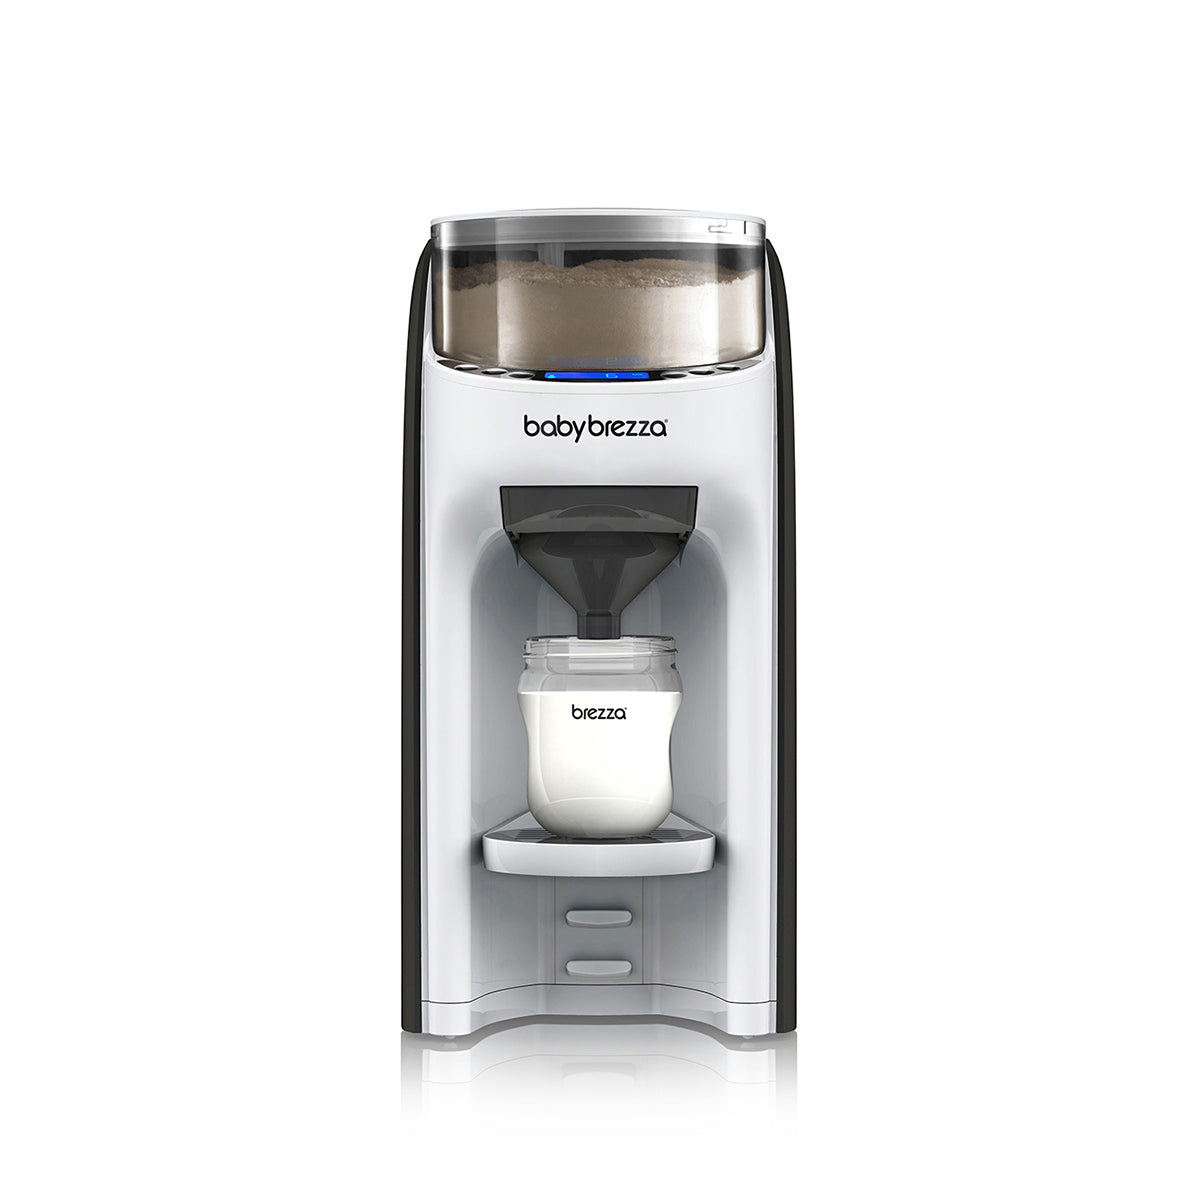
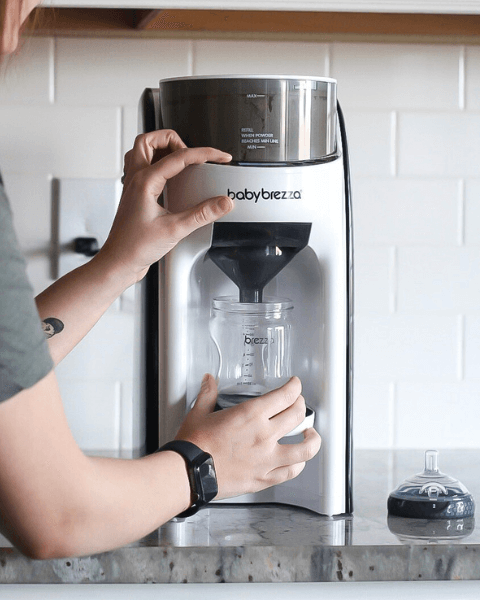
Baby Brezza Formula Pro Advanced


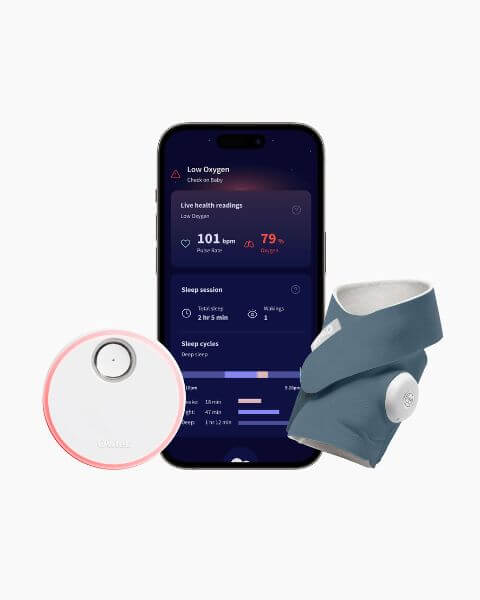
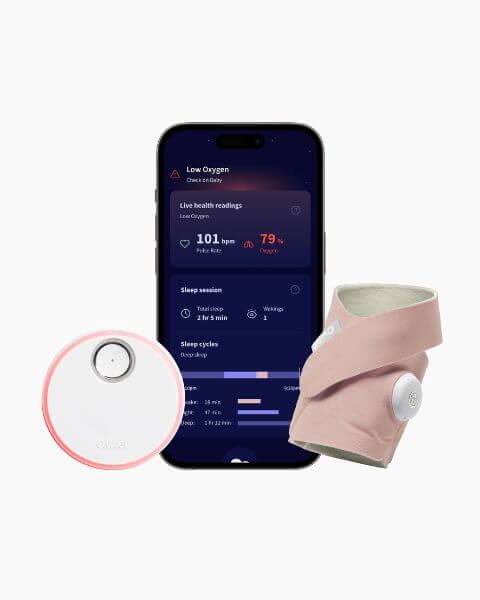
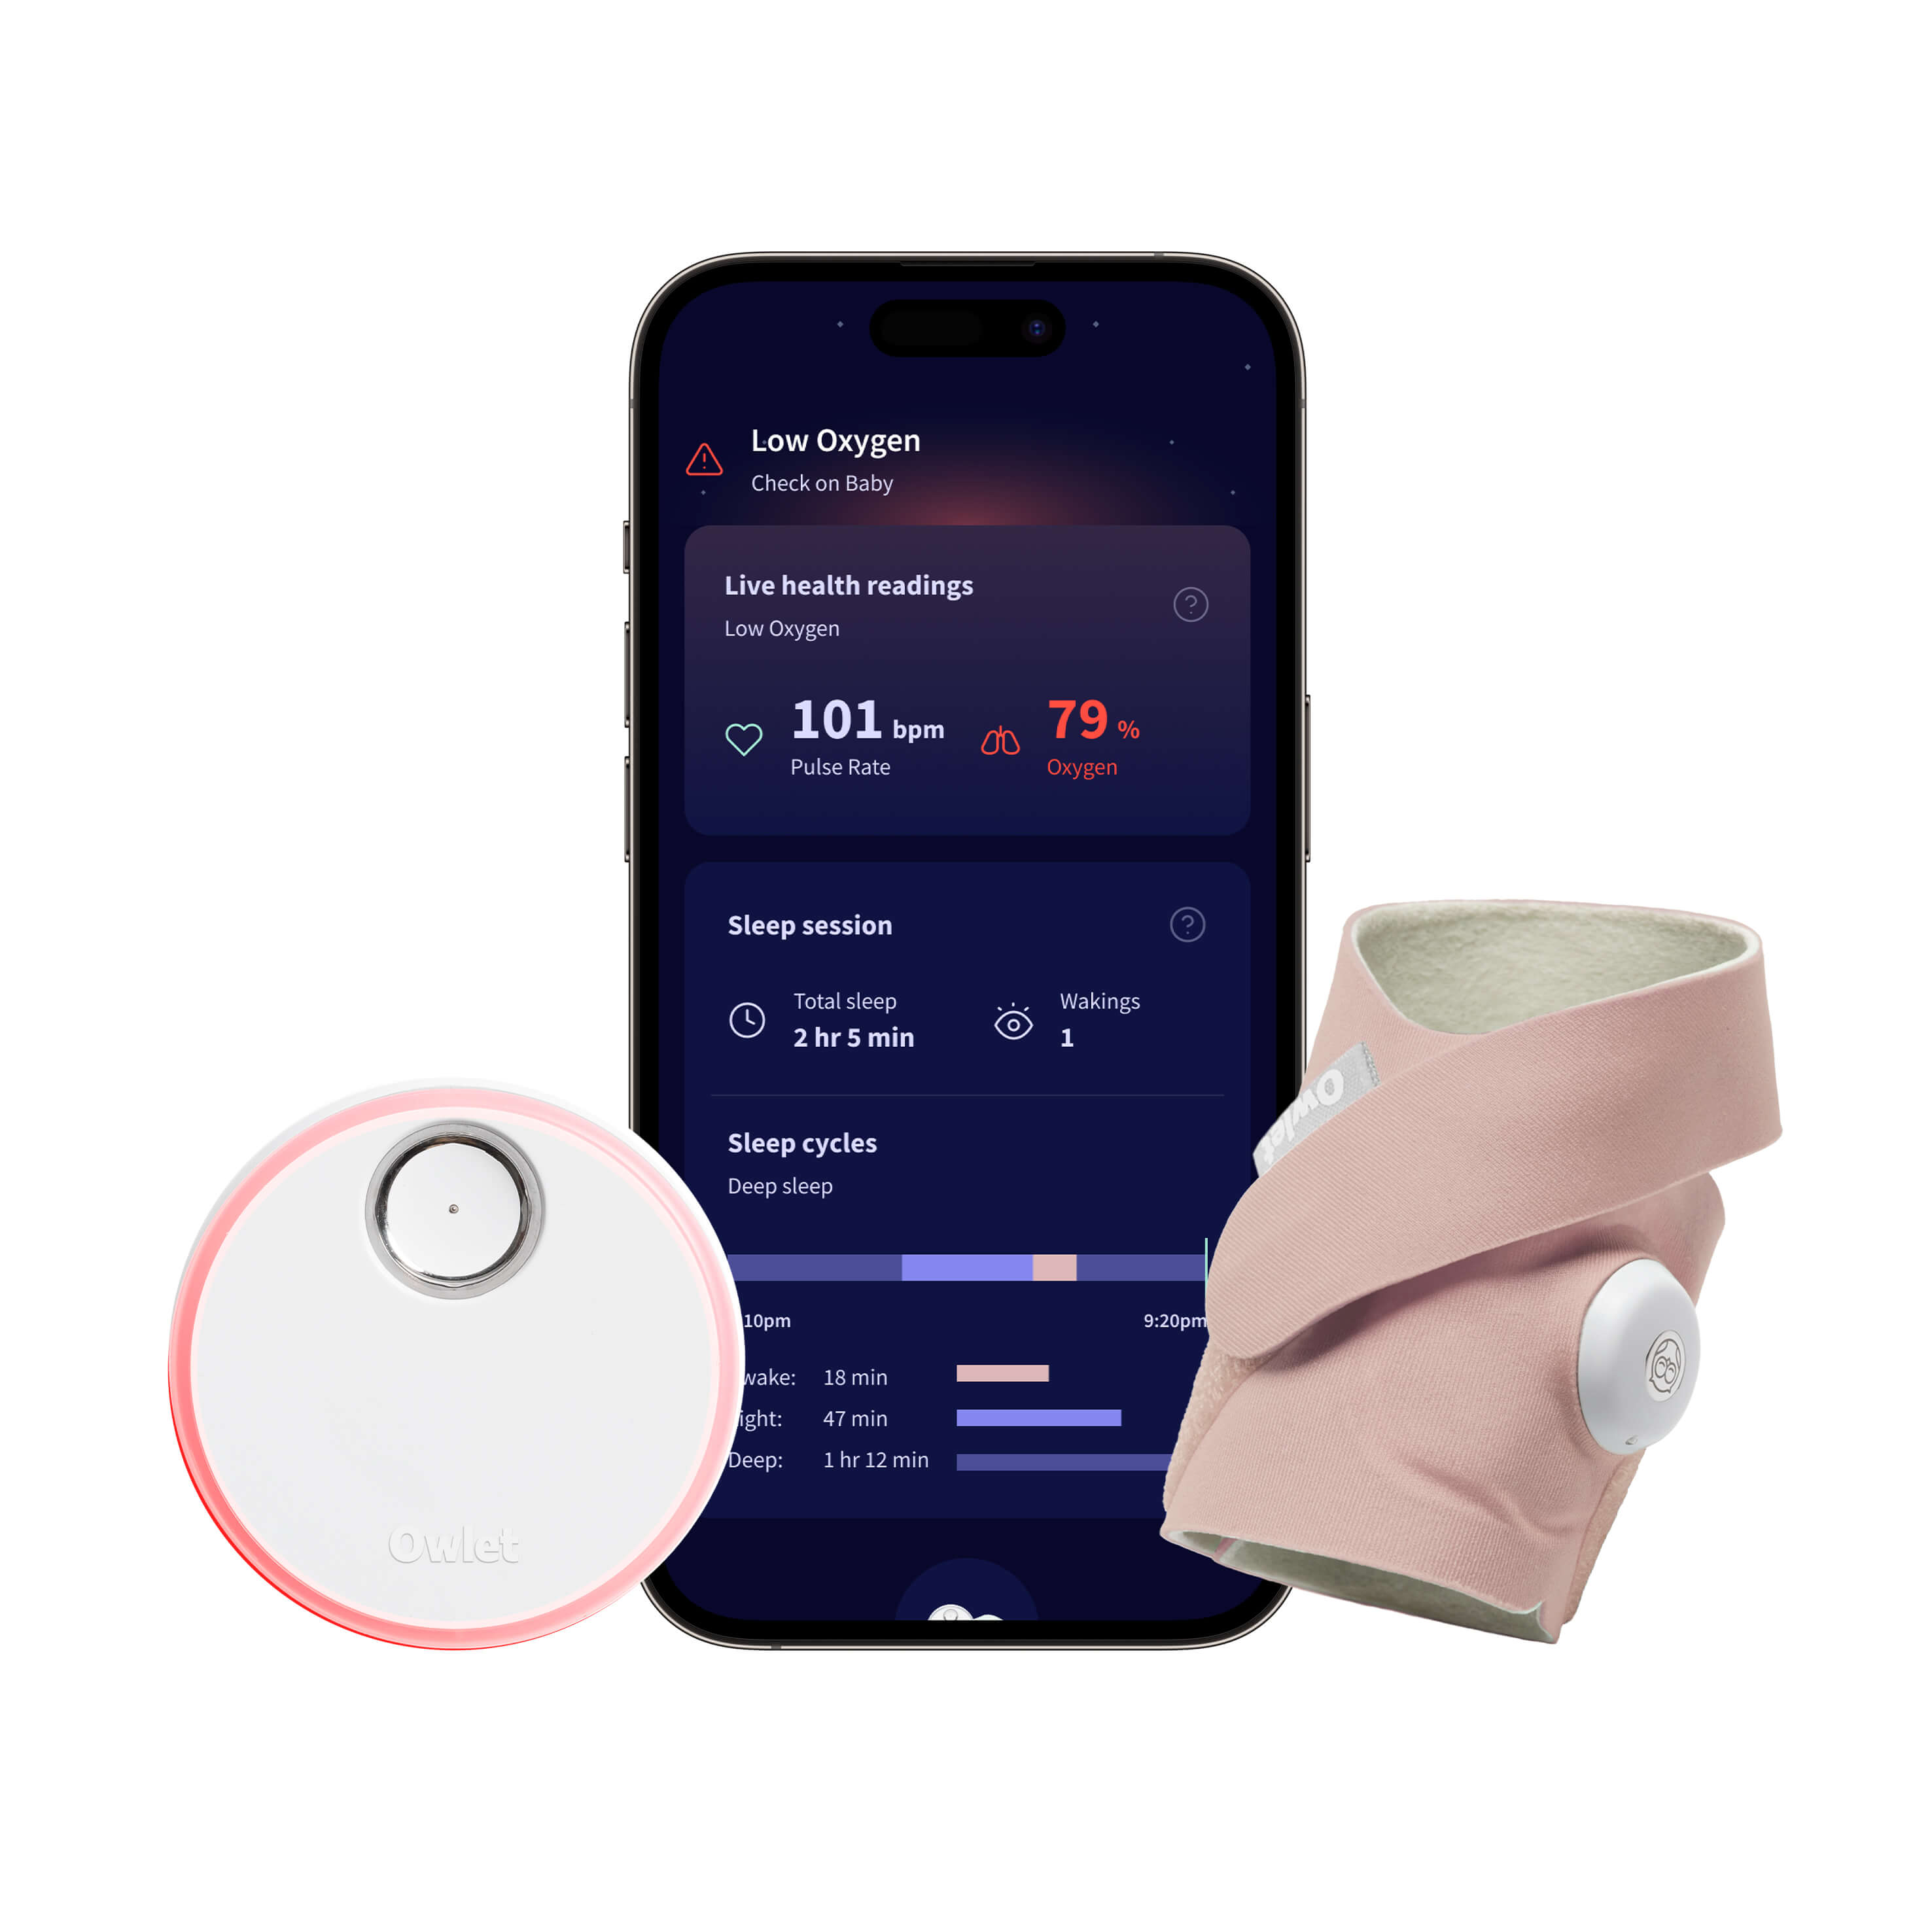
As 21st century technology continues to advance, the world of parenting is embracing new innovative gadgets designed to make the journey easier for both babies and their parents.
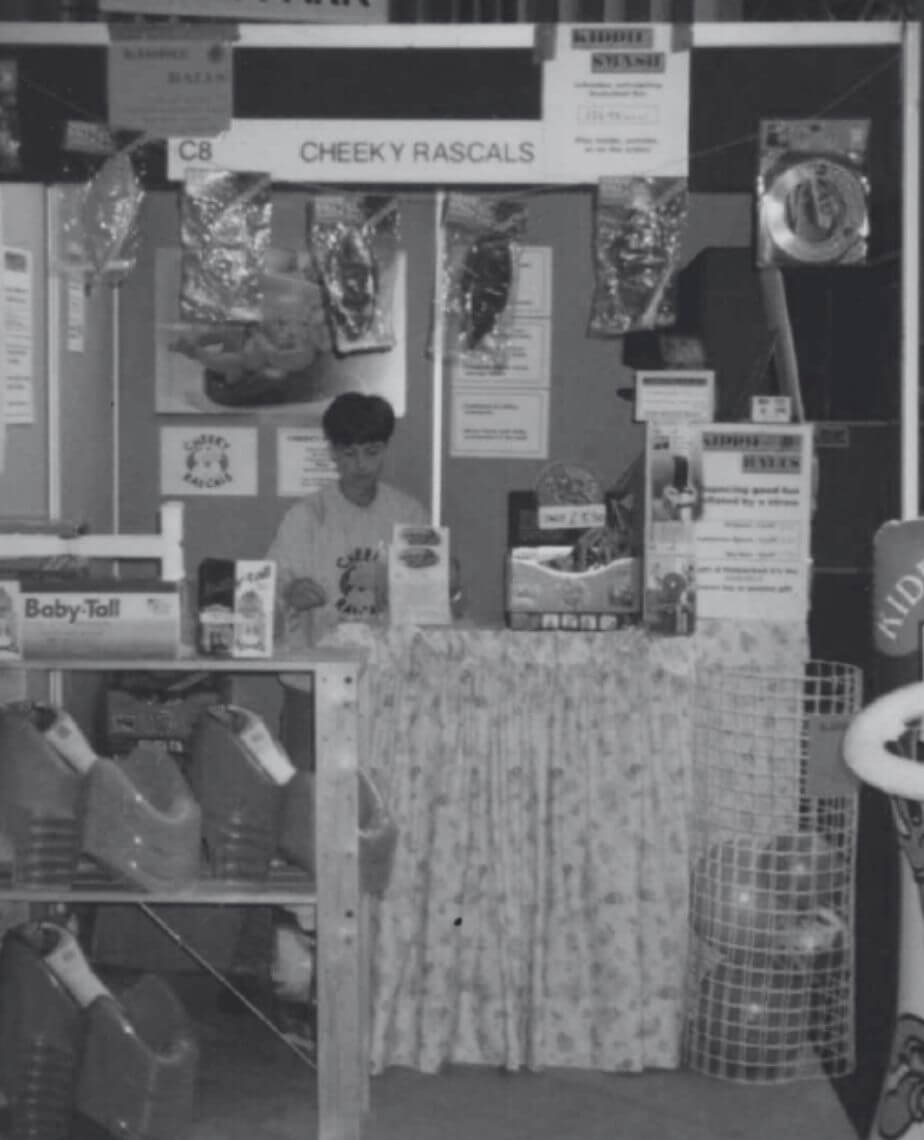
1996
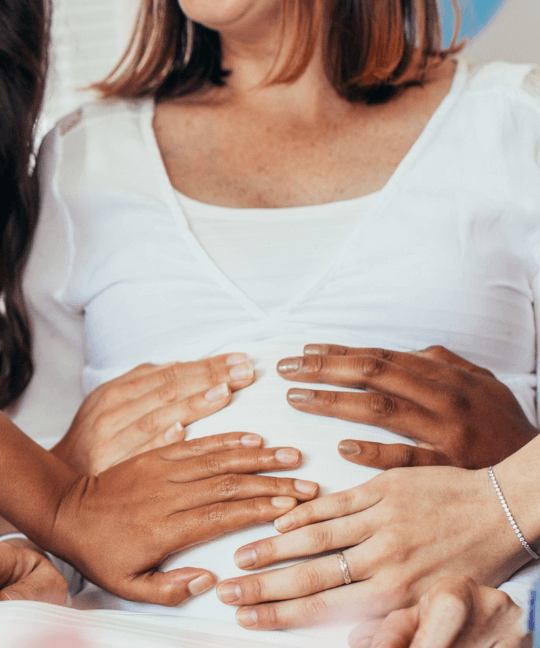
Founded by mum of 3 Selina, the Cheeky Rascals was born out of her frustration with the lack of innovative nursery products in the UK that she had discovered while living abroad.
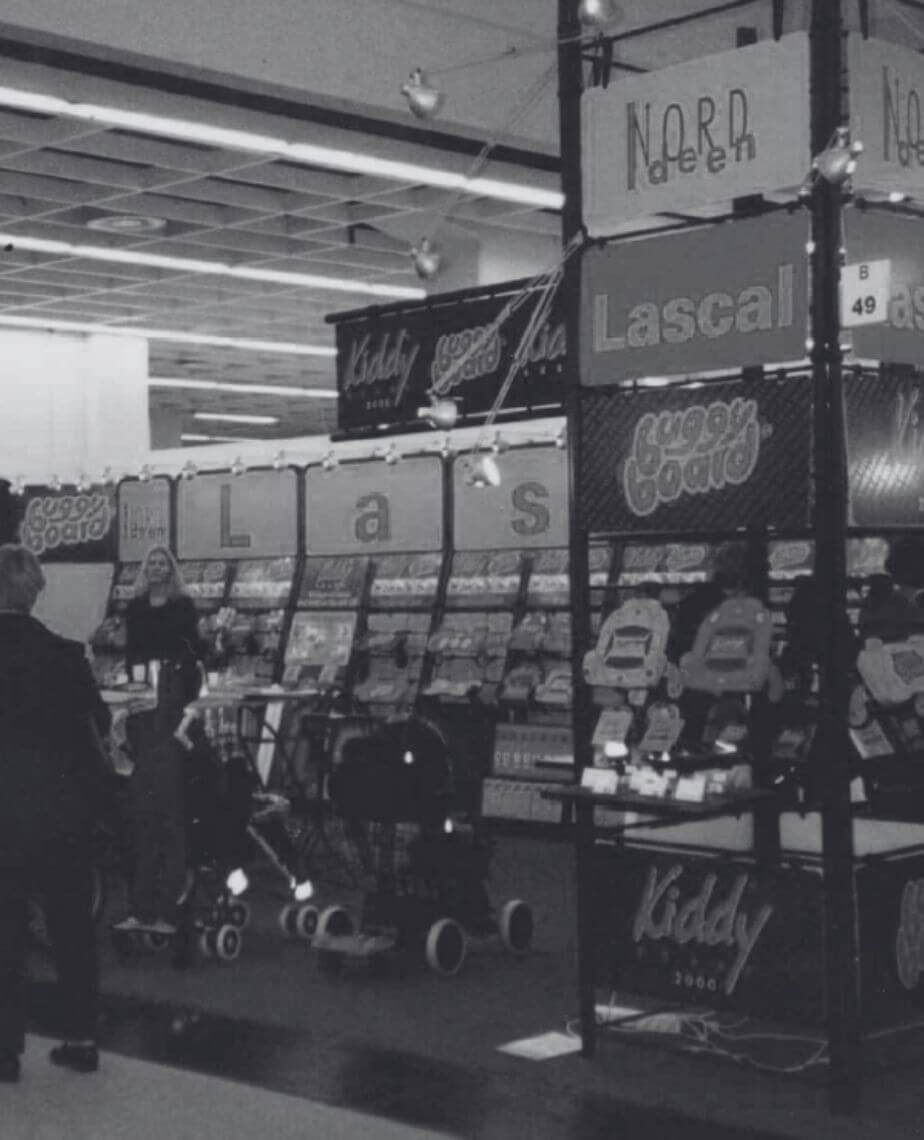
1997
Setting a precedent for bringing unique and practical nursery products to UK families

2026
From humble beginnings to the current day, the founding principle of the business has always been to find genuinely useful baby kit that makes family life easier, and this hasn’t changed.
Based in Hampshire UK, our ever growing team works with founder Selina to bring these innovative products to the market.